Wall Area Calculator: Measure Walls Accurately
Use this wall area calculator method to measure UK walls in millimetres, subtract openings, and plan paint, wallpaper, insulation or materials.
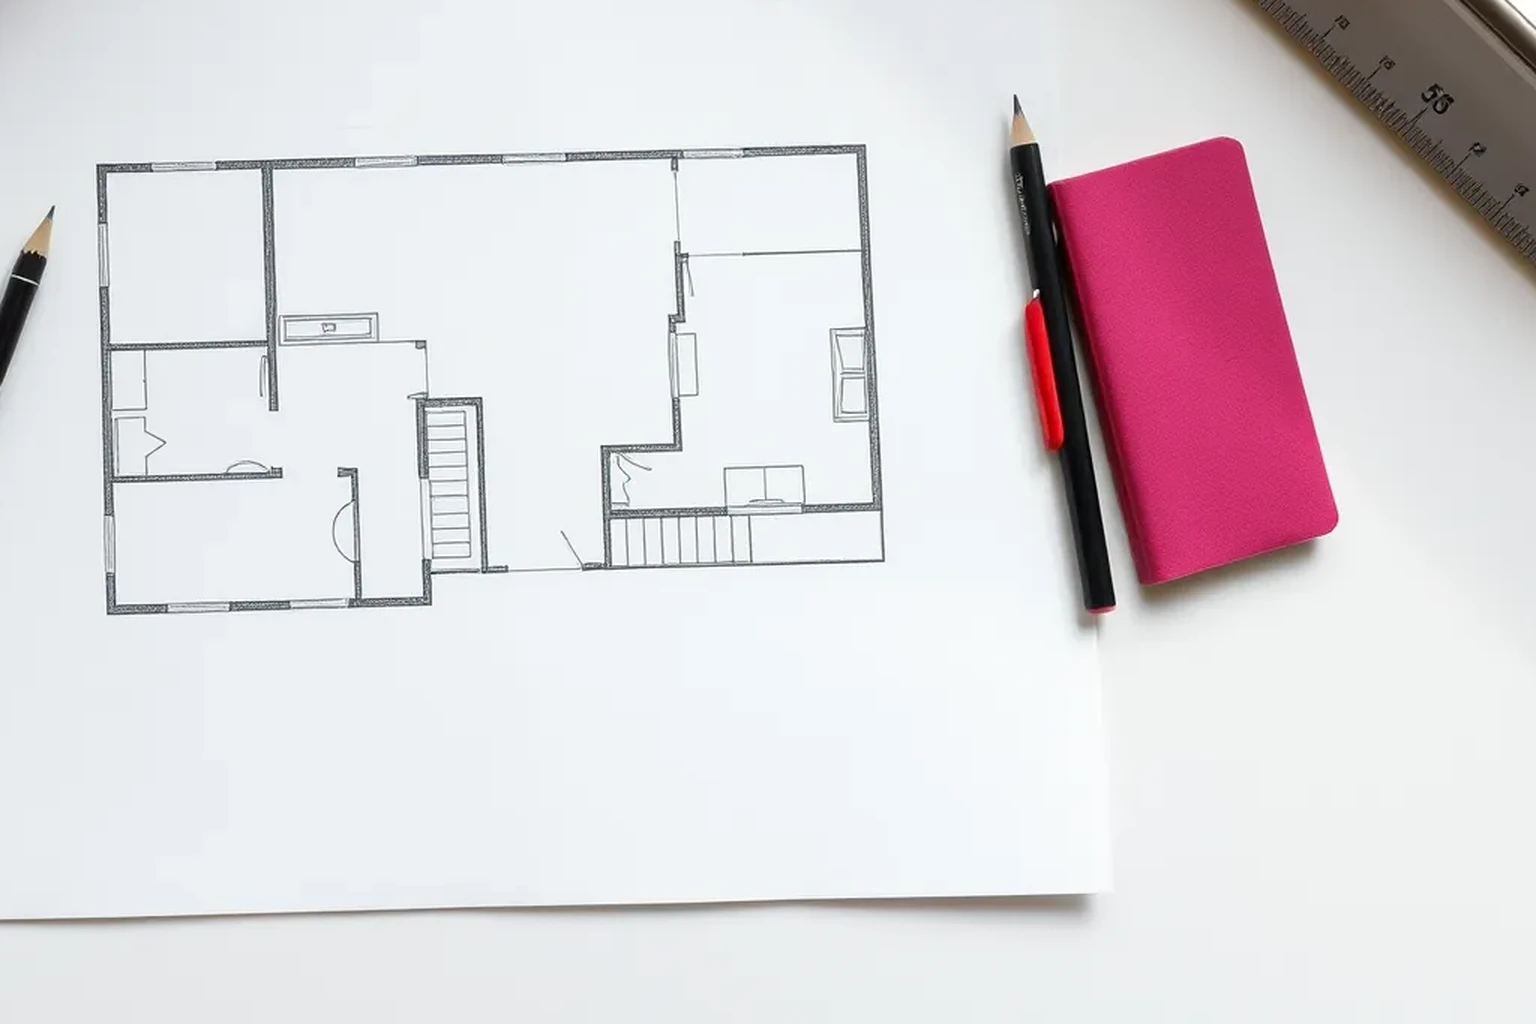
Measure each wall’s width and height in millimetres, convert to metres, then multiply width by height to find its gross area. Measure doors, windows and other significant openings separately, calculate their areas, and subtract them from the gross total before adding any allowance required by the material or supplier.
Wall Area Calculator: What You Need to Measure
A wall area calculator is only as reliable as the measurements entered into it. For a typical UK room, record the width of every wall, the finished floor-to-ceiling height, and the width and height of each opening. Use a tape measure, pencil, notepad or phone, and record measurements in millimetres (mm) so small differences are not lost.
Measure the actual surfaces that will receive the finish rather than relying on estate-agent plans or room dimensions rounded to the nearest metre. Note alcoves, chimney breasts, boxed-in pipes, sloping ceilings and projecting columns because they can change the area or create additional cuts. If the room is being refurbished, decide whether you are measuring the existing surface or the finished surface after plasterboard, panelling or other changes.
- Record wall width and height in mm.
- Measure each wall separately, even when walls appear identical.
- List every door, window and large opening with its own width and height.
- Mark measurements as approximate only when access prevents an exact check.
Step 1: Measure the Gross Wall Area
For a rectangular wall, multiply its width by its height. If both measurements are in millimetres, divide the product by 1,000,000 to convert square millimetres to square metres. Alternatively, convert both dimensions to metres first and then multiply them; the result will be in square metres (m²).
Repeat the calculation for every wall and add the results together. A standard rectangular room can also be checked using the perimeter method: add the four wall widths and multiply by the wall height. The individual-wall method is safer when the room has an alcove, chimney breast, uneven wall lengths or a different height on one side.
- Wall area in m² = width in m × height in m.
- For mm measurements: wall area in m² = width in mm × height in mm ÷ 1,000,000.
- Keep at least two decimal places during intermediate calculations.
- Label each result by wall, such as north wall or wall beside the window.
Step 2: Subtract Doors, Windows and Openings
Calculate each opening as a rectangle using its measured width and height, then add all opening areas together. Subtract that total from the gross wall area to obtain the net wall area. This is usually the most useful figure when estimating paint, wallpaper, wall panels or a surface finish that will not cover doors and glazing.
Measure the opening that the finish actually avoids. For a window, this may mean the reveal-to-reveal opening rather than the outer frame, depending on whether the reveals are also being painted or lined. For a door, include the full area that will remain uncovered, but do not subtract surrounding architraves unless the planned finish will genuinely stop at them.
- Opening area in m² = opening width in m × opening height in m.
- Add openings before subtracting them from the gross area.
- Include bay-window sections and separate returns when they are part of the wall surface.
- Record whether reveals, returns and chimney breasts are included.
Step 3: Handle UK Room Features and Irregular Walls
UK homes commonly include chimney breasts, alcoves, radiator pipe boxing, built-in cupboards and bay windows. Treat each visible face as a separate rectangle or, for a triangular area, use half the base multiplied by the height. For a sloping wall or stairwell, take several measurements and divide the surface into simple shapes rather than forcing it into one rectangular calculation.
Be careful with dado rails, picture rails, skirting boards and coving. If the finish stops at a rail or trim, measure only the strip being covered; if the same material continues over or around the trim, include the relevant surface. For wallpaper, panelling and tiles, measure returns and side faces because they can consume material even though they are easy to overlook from the centre of the room.
- Split complex walls into rectangles and triangles.
- Measure chimney-breast front faces and side returns separately.
- Include bay-window returns if they will receive the finish.
- Check whether skirting, coving or rails are excluded from the working height.
Step 4: Apply the Result to Materials
Use the net wall area as the starting point, then follow the product’s coverage information. Paint coverage depends on the surface, colour change, number of coats and application method, so divide the area by the stated coverage per litre and allow for the specified coats. Wallpaper is not normally ordered by square metres alone: roll width, roll length, pattern repeat, matching and waste affect the number of usable drops.
For tiles, wall panels and sheets, calculate the net area but round up to complete packs or sheets. Add a separate waste allowance only after checking the manufacturer’s guidance and the complexity of the layout. More waste may be needed around sockets, corners, windows and diagonal cuts, while a simple uninterrupted wall may need less.
- Use net area for estimating coverage, not the gross area.
- Multiply paint coverage by the number of planned coats.
- Check roll, pack or sheet coverage and pack-size rounding.
- Keep product-specific waste assumptions separate from the measured area.
Concrete Checks Before You Order
Perform a second calculation using a different route. For a regular room, compare the sum of the four individual wall areas with perimeter multiplied by height. The totals should agree apart from rounding. If they do not, look for a missed wall, a measurement taken to the wrong face, or a unit conversion error.
Also compare the measured room dimensions with the quantity of openings. If the net area is unexpectedly close to the gross area, check that doors and windows were entered correctly. If the net area is negative or much smaller than expected, a dimension may have been entered in millimetres while another was entered in metres.
- Recheck one wall from floor-to-ceiling and ceiling-to-floor.
- Confirm that all dimensions use the same unit.
- Compare the sum of wall areas with the perimeter check where possible.
- Round only at the final ordering stage.
- Keep a dated measurement record for later changes.
Worked Example: Illustrative Wall Area Check
The example below uses synthetic numbers for demonstrating the method, not measurements from a real UK property. Suppose a rectangular room has two walls measuring 4,200 mm by 2,400 mm and two walls measuring 3,000 mm by 2,400 mm. There is one illustrative door measuring 900 mm by 2,040 mm and one illustrative window measuring 1,500 mm by 1,200 mm.
Convert each dimension to metres, calculate the four gross wall areas, then subtract the two openings. The result is a planning figure for a finish that stops at the measured door and window openings. Confirm the product coverage, coats, pack sizes and waste separately before buying.
- Two long walls: 2 × (4.2 × 2.4) = 20.16 m².
- Two short walls: 2 × (3.0 × 2.4) = 14.40 m².
- Gross wall area: 20.16 + 14.40 = 34.56 m².
- Door and window area: (0.9 × 2.04) + (1.5 × 1.2) = 3.636 m².
- Net wall area: 34.56 − 3.636 = 30.924 m², or 30.92 m² rounded.
Wall Area Verification Checklist
Before using the number for a quote or order, check that every wall face is represented and that the height is appropriate for the planned finish. Confirm whether reveals, returns, chimney breasts, alcoves and boxed-in services are included. Take photographs or add a simple sketch to the measurement record so another person can understand what each number refers to.
Finally, ask the supplier how it expects coverage to be calculated. Paint may be specified by litres per coat, wallpaper by rolls and matching, and tiles or panels by packs with a stated waste recommendation. Keep the measured net area and the supplier’s material quantity as separate records so future changes can be traced.
- All wall widths and heights are recorded in mm or converted consistently.
- Gross area has been checked against the perimeter method where possible.
- Door, window and other significant opening areas have been subtracted where appropriate.
- Irregular faces and returns have been included or clearly excluded.
- Product coverage, coats, pack sizes and waste have been checked with the supplier.
Reproducible worked record
Illustrative rectangular room with two openings
All numbers in this worked example are explicitly illustrative and synthetic, provided only to demonstrate the calculation.
- Long wall width and height
- 4,200 mm × 2,400 mm, used twice
- Short wall width and height
- 3,000 mm × 2,400 mm, used twice
- Door width and height
- 900 mm × 2,040 mm
- Window width and height
- 1,500 mm × 1,200 mm
2 × (4.2 × 2.4) + 2 × (3.0 × 2.4) − (0.9 × 2.04) − (1.5 × 1.2) = 20.16 + 14.40 − 1.836 − 1.80 = 30.924 m²The illustrative net wall area is 30.924 m², normally recorded as 30.92 m² before applying product-specific coverage and waste.
Verification boundaryRecalculate the gross area as room perimeter × height: 2 × (4.2 + 3.0) × 2.4 = 34.56 m², then subtract the 3.636 m² of openings.
References and field record
Check the assumptions at their source.
The method uses consistent SI length units and square-metre conversion, consistent with NIST guidance on the International System of Units.
- NISTSupports using consistent SI units and conversions when changing millimetre measurements into metres and square metres.The International System of Units (SI), NIST Special Publication 811
- UK govProvides UK government context for legal units used in trade and product quantities, supporting the use of metric measurements when comparing material coverage.Weights and measures: the law
References checked August 6, 2026. External specifications can change; verify the current document before relying on a product or regulated dimension.
Scope and limitations
This note helps householders organise measurements and understand the calculation. It does not replace an on-site decision by a designer, installer, contractor, or manufacturer. Fabrication, structure, electrical work, gas, waterproofing, and personal safety require suitably qualified verification.