Square Footage Floor Calculator for UK Rooms
Measure a UK room in millimetres, divide it into rectangles and calculate floor area in square metres and square feet.
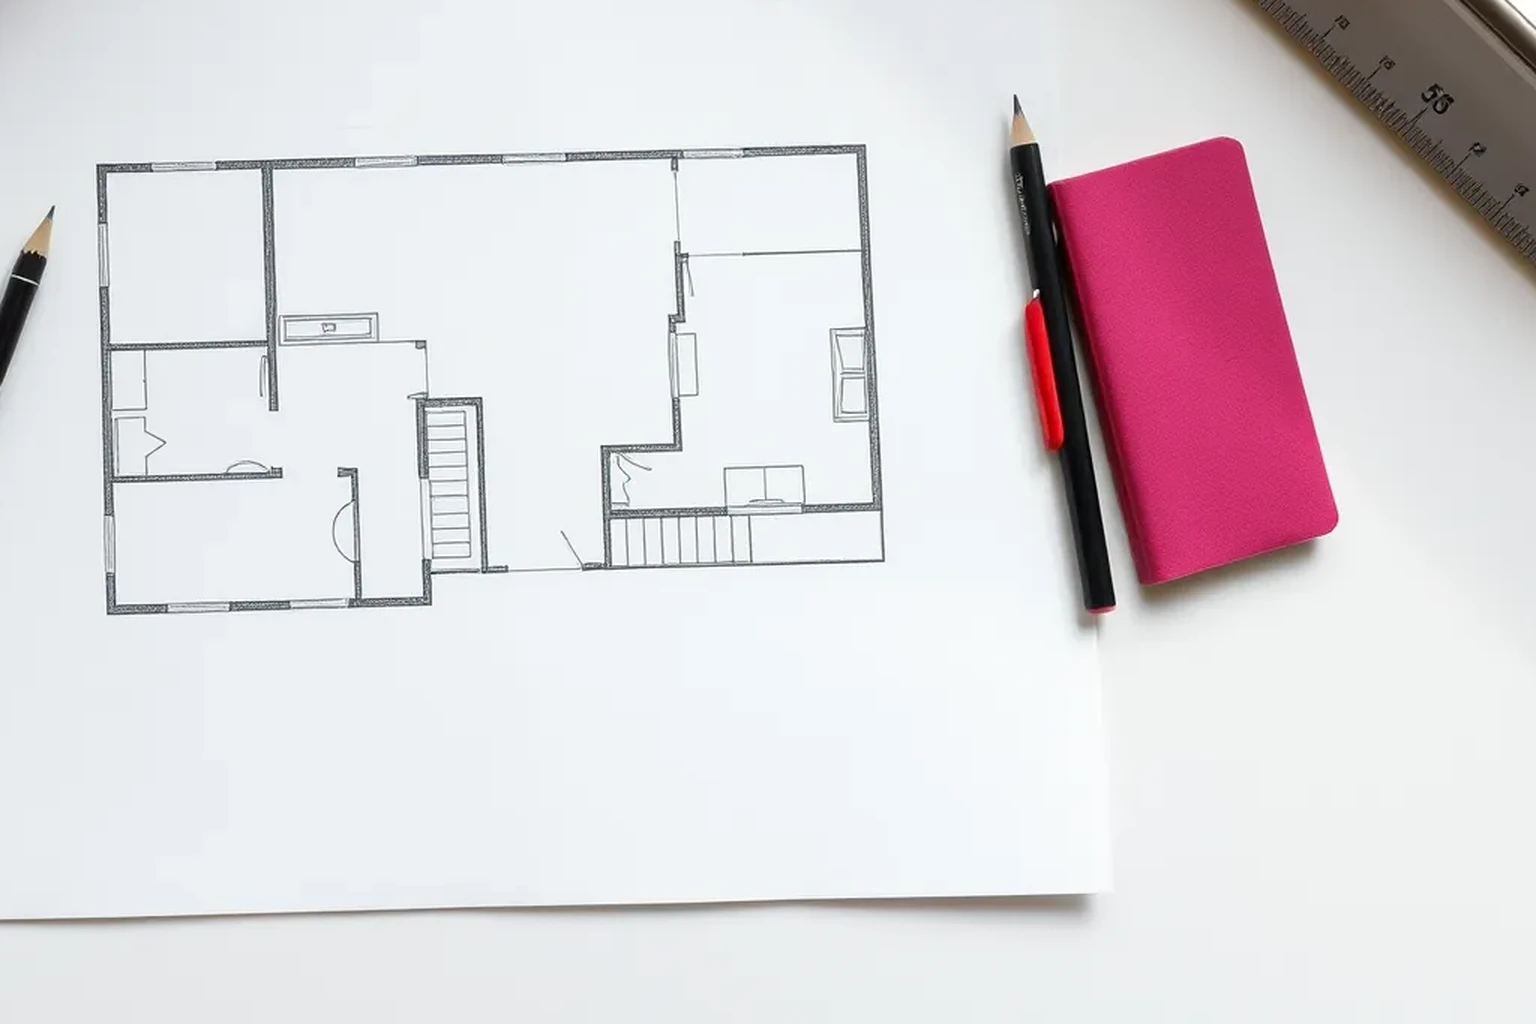
Measure each part of the floor in millimetres and divide an irregular room into rectangles. Calculate and add their areas in square metres, then convert the checked total to square feet if needed.
Set up your square footage floor calculator
Start with a sketch of the floor, not a single length and width. Mark each wall, doorway, alcove and projection so the shape can be checked against the room. Decide what the figure is for before measuring: a flooring order, a furniture plan and a property record may need different boundaries. Write that purpose beside the sketch.
For a UK room, record measurements in millimetres and calculate in square metres first. You can then convert the result to square feet if that is the unit you need to report. Keep the original dimensions alongside the converted figure so someone else can repeat the calculation. A calculator cannot resolve an unclear boundary, so settle what you are including before entering numbers.
Measure the floor consistently
Use a tape measure or laser measure at floor level where practical. Measure from one chosen wall face to the opposite wall face, and note where skirting, pipes or fitted units prevent a direct reading. Take a second reading across each main dimension at another point in the room. If the readings differ, record both rather than silently choosing the larger one.
Label every dimension on the sketch in mm as soon as you take it. Check that the measurements around adjoining rectangles agree at their shared edges. For a kitchen or utility room, mark fitted cabinets and appliances separately if their footprints matter to the job. A flooring installer may need the full room outline, while a furniture plan may need the clear space in front of those fittings.
- Record the room name, date and measuring point.
- Take a second reading of each main span.
- Mark obstacles where a direct floor-level measurement is unavailable.
Divide awkward shapes into rectangles
Draw lines across the sketch to split an L-shaped room into rectangles that do not overlap. Give each rectangle a length and width, using measured dimensions rather than estimates from the drawing. An alcove that extends beyond the main room can be a separate rectangle to add. A corner that is absent from an otherwise rectangular outline can instead be measured as a rectangle to subtract.
Choose either the add-pieces or subtract-a-cut-out approach for a given part of the room, then check that you have not counted it twice. Door openings can make the boundary less obvious, so mark exactly where the measured floor area starts and ends. Do not assume that a rough sketch is to scale. If a wall is angled or curved, record its shape and dimensions separately rather than forcing it into a rectangle.
Calculate in square metres, then convert
For each rectangle, divide its length and width in mm by 1,000 to express them in metres. Multiply those metre values to obtain its area in square metres. Add the areas you are including and subtract any measured cut-outs. Keep more digits during the calculation than you intend to show in the final answer.
To express the checked total in square feet, multiply its square-metre value by approximately 10.7639. For example, converting the dimensions before multiplying avoids confusing a length conversion with an area conversion. Label both totals clearly as m² and sq ft. Rounding only at the end helps the individual rectangles add back to the reported total.
Check the result against the room
Compare the calculated area with a simple bounding rectangle around the whole room. When you have added only areas within that boundary, the total should not exceed its area. For an L-shaped room, check that the pieces meet without a gap or an overlap. If a result looks wrong, revisit the sketch and units before changing any measurements.
Re-measure dimensions that differ between two readings or that contribute strongly to the total. A small error in a long wall can affect more floor area than the same error across a short recess. Ask another person to follow the labelled sketch and repeat the arithmetic without relying on your first total. Keep their calculation with the original measurements if the figure will be used for a purchase or record.
Use the area for the right decision
A measured floor area is a starting quantity for flooring, not necessarily the amount of material to order. Layout, cuts, pattern matching and the supplier's pack sizes can change the purchase quantity. Give a supplier or installer the sketch and dimensions as well as the area, particularly where there are alcoves or fitted units. Confirm with them which floor sections will actually be covered.
For furniture, keep dimensions such as doorway widths, circulation space and the positions of radiators and sockets alongside the area. Two rooms with the same square footage can accommodate a sofa, table or fitted storage very differently. For household records, state whether your figure describes one measured room, several rooms or an entire property. Do not present a DIY room measurement as a formal property-area assessment.
Final verification checklist
Before using the result, trace the room boundary on your sketch and confirm that each included floor section appears once. Check that every recorded length has a unit and that every rectangle has both a length and a width. Recalculate one section independently, then add the sections again. Make sure any deduction represents an area you deliberately excluded.
Read the final figure with its label: square metres and square feet are different units for the same measured area. Keep the unrounded calculation available even if you report a rounded figure. If the number will determine an order, check the supplier's measuring and ordering requirements before paying. Store the dated sketch with the result so the boundary and arithmetic remain clear.
- Boundary marked and no section counted twice.
- Dimensions recorded in mm and converted consistently.
- Addition, deductions and square-foot conversion checked.
- Purpose and rounding recorded with the final figure.
Reproducible worked record
Illustrative L-shaped room calculation
All dimensions and results in this worked example are illustrative, synthetic numbers, not measurements of a real property.
- Main rectangle
- 4,200 mm × 3,600 mm (illustrative)
- Adjoining alcove
- 1,200 mm × 900 mm (illustrative)
- Boundary
- Two non-overlapping rectangles, with the alcove added (illustrative)
(4.2 m × 3.6 m) + (1.2 m × 0.9 m) = 15.12 m² + 1.08 m² = 16.20 m²; 16.20 × 10.7639 ≈ 174.37 sq ft.The illustrative combined floor area is 16.20 m², or approximately 174.37 sq ft.
Verification boundaryMeasure both rectangles again, confirm that they share a boundary without overlapping, and independently repeat the conversion from the 16.20 m² total.
References and field record
Check the assumptions at their source.
The metre-based calculation uses SI units described by the International Bureau of Weights and Measures; the square-foot conversion follows from the international foot definition documented by NIST.
- BIPMDefines the SI system used to express lengths in metres and areas in square metres.The International System of Units (SI)
- NISTDocuments the international foot as exactly 0.3048 metre, from which the square-metre to square-foot conversion follows.The International Foot
References checked August 6, 2026. External specifications can change; verify the current document before relying on a product or regulated dimension.
Scope and limitations
This note helps householders organise measurements and understand the calculation. It does not replace an on-site decision by a designer, installer, contractor, or manufacturer. Fabrication, structure, electrical work, gas, waterproofing, and personal safety require suitably qualified verification.