Room Size Calculator: Measure Floor Area Accurately
Use a room size calculator with UK measurements to check floor area, furniture fit, flooring quantities, and layout constraints.
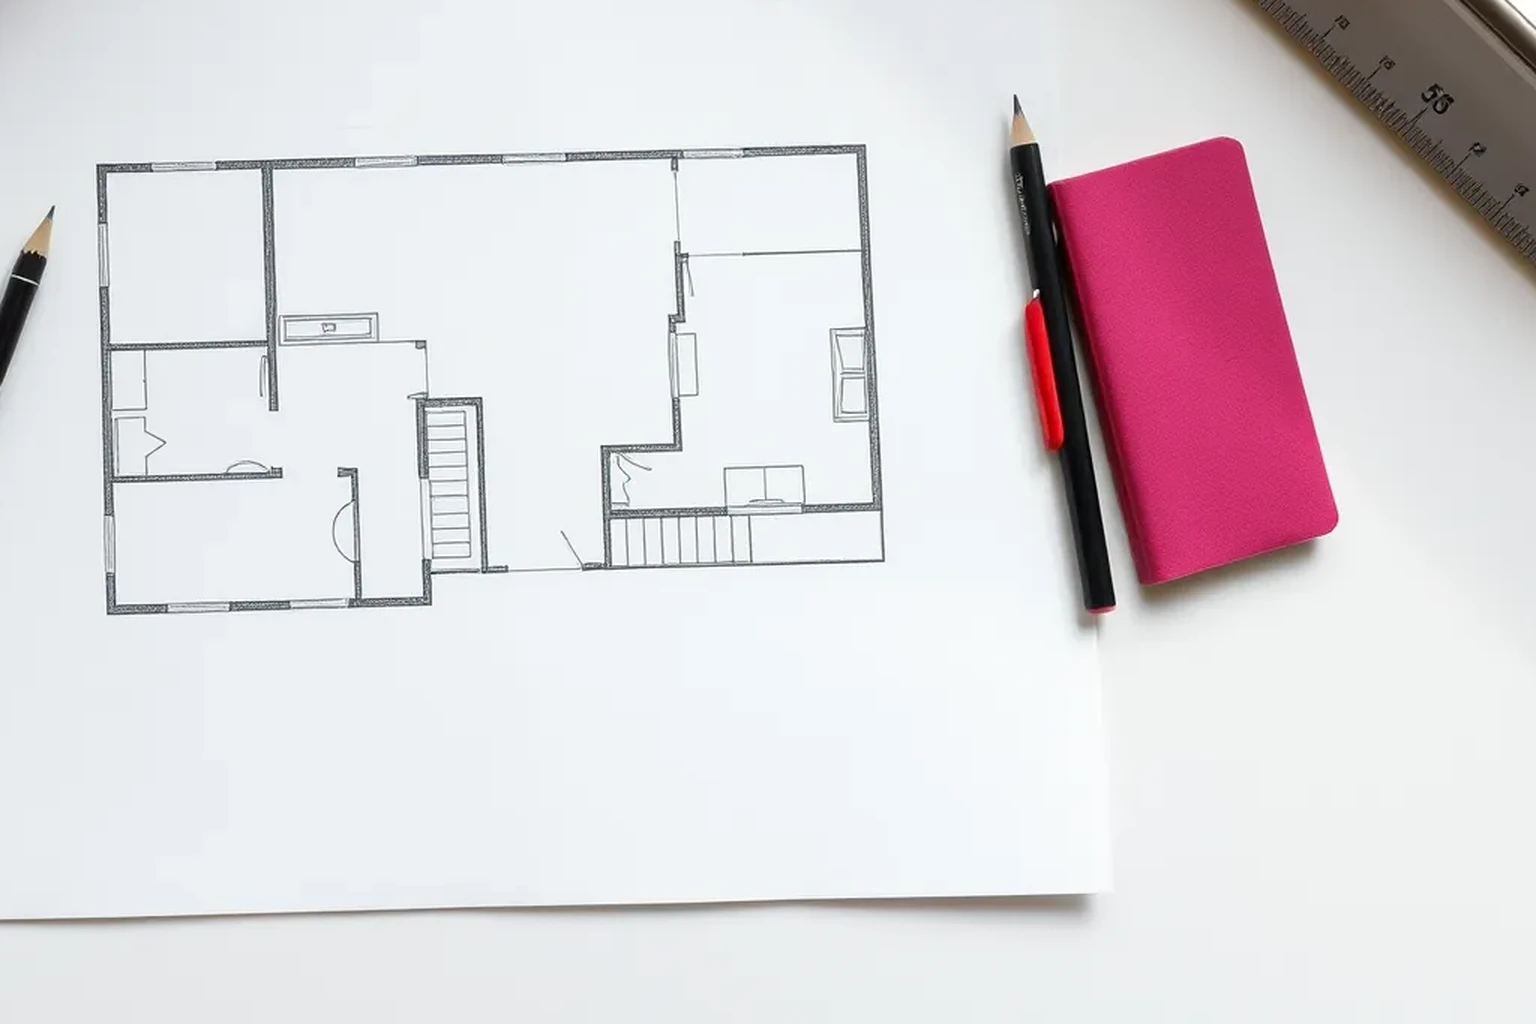
Measure each wall in millimetres, split irregular rooms into simple rectangles, and calculate each area before adding the results. Then check doors, windows, radiators, sockets, alcoves, chimney breasts, and fixed furniture so the usable layout is not confused with the total floor area.
Room Size Calculator: Decide What You Need to Measure
A room size calculator is only as reliable as the measurements entered into it. Before starting, decide whether you need gross floor area, usable floor area, a furniture layout, or an order quantity for flooring. These are related but different checks: a room may have a large total area while door swings, a radiator, or a chimney breast reduce the space available for furniture.
Use a steel tape measure or laser measure, record dimensions in millimetres, and write down where each measurement was taken. Measure the finished surfaces where possible, because plaster, skirting boards, panelling, and fitted units can change the usable dimension. For a rental, survey, or renovation record, note the date, room name, and any uncertainty alongside the numbers.
- Use one unit throughout the calculation, preferably millimetres for measurement and square metres for the final area.
- Measure at least two points on each wall where the room may be out of square.
- Photograph or sketch doors, windows, radiators, sockets, and built-in fittings before moving furniture.
Measure the Room in a Repeatable Order
Start at the entrance and label the walls clockwise as A, B, C, and D. Measure the length of each wall at floor level, then measure the room width at more than one point if the walls may not be parallel. Record ceiling height separately, since it does not change floor area but is important for cupboards, tall furniture, decorating materials, and ventilation planning.
Check the dimensions against the room outline before calculating anything. The length of opposite walls should be broadly comparable in a rectangular room, while a difference may indicate a recess, bay, angled wall, or measurement taken to a different finished surface. Measure alcoves, chimney breasts, boxed-in pipes, and structural piers as separate projections rather than silently including them in a simple rectangle.
- Record wall-to-wall dimensions and the depth of every recess or projection.
- Measure door openings, door leaf width, and the direction of the swing.
- Record window width, height, sill height, and distance from each corner.
- Measure radiator length and depth, including valves or pipe boxing where they affect placement.
Calculate Area from Simple Shapes
For a straightforward rectangular room, multiply length by width after converting both measurements to metres. For example, 4,200 mm becomes 4.2 m and 3,600 mm becomes 3.6 m, giving 4.2 x 3.6 = 15.12 square metres. Keep the unrounded figures in your notes and round only the displayed result, because early rounding can create avoidable differences when several areas are added.
For an L-shaped or irregular room, divide the plan into rectangles that do not overlap. Calculate the area of each rectangle, then add them together. If a recess is outside the main rectangle, add it; if a chimney breast or boxed section is within the rectangle but cannot be used as floor space, subtract its measured area from the usable-area calculation.
- Use area = length x width for each rectangle.
- Use the same reference edge for every dimension in a composite plan.
- Label each rectangle on the sketch so another person can reproduce the arithmetic.
- Keep total floor area separate from clear furniture area.
Check UK Fittings and Access Before Planning Furniture
A numerical area does not show whether a sofa, bed, wardrobe, cooker, or washing machine will enter and fit in the room. Measure the route from the pavement or communal entrance through doors, halls, stairs, and turns to the room. UK homes commonly include radiators below windows, skirting boards, sockets near floor level, chimney breasts, and boxed services, so mark their positions on the plan rather than relying on a clear rectangle.
Measure the opening available when a door is fully open and when it is closed. Also record whether a window opens inward, whether curtains or blinds need wall space, and whether a radiator or heating control must remain accessible. For kitchens and utility rooms, record the actual positions of water, waste, gas or electrical connections and ventilation grilles before assuming that appliances can be swapped freely.
- Draw door swings and identify the usable clear space behind each door.
- Mark radiator, thermostat, sockets, switches, consumer-unit access, and service hatches.
- Measure fixed units, fireplace surrounds, chimney breasts, and fitted cupboards.
- Check the narrowest point on the delivery route, not only the room entrance.
Turn the Measurements into a Planning Check
Create a scaled sketch or digital plan using the measured wall lengths and fixed features. A simple scale such as 1:50 can help: 1,000 mm in the room represents 20 mm on paper. If you use software, enter the original measurements in millimetres and keep a written measurement list so errors can be found without rebuilding the plan.
Place furniture using its real external dimensions, including legs, handles, doors, drawers, and required access. Test the main routes through the room, the opening of storage doors, and access to windows and radiators. For a bedroom, check the bed position and wardrobe access; for a living room, check the seating route and sight lines; for a dining area, check that chairs can be pulled out without blocking the main passage.
- Use product dimensions from the manufacturer rather than assumed standard sizes.
- Show furniture depth as well as width and length.
- Mark a practical circulation route from the entrance to the main parts of the room.
- Leave room for skirting, curtains, cables, and handles where those affect the layout.
Use the Result for Flooring and Materials
For tiles, boards, sheet materials, or carpet, begin with the measured floor area and then follow the supplier's fitting and waste guidance. The required order quantity can be higher than the net area because cuts, pattern matching, damaged pieces, and pack sizes affect the purchase. Do not apply a universal allowance without checking the product instructions and the shape of the room.
Separate areas that will receive different finishes, such as a tiled hearth, built-in cupboard footprint, or an area beneath a permanent kitchen unit. Check whether the finished floor height will affect doors, thresholds, skirting, appliances, or stairs. When comparing quotations, ask whether the stated quantity covers the measured area only or includes cutting waste, trims, adhesive, underlay, and delivery.
- Measure each flooring zone separately when finishes or laying directions differ.
- Confirm pack coverage and rounding rules with the retailer.
- Check floor level, moisture, and subfloor condition before ordering a finish.
- Retain a small amount of spare material and the product details for future repairs where practical.
Verify the Calculation Before You Order
Repeat the key measurements after the first calculation, especially when the result will determine a large material order or a fitted installation. Compare the calculated area with an independent estimate based on the room's approximate dimensions, then inspect the plan for overlapping rectangles or omitted recesses. If two methods disagree, return to the sketch and measurement points rather than choosing the more convenient result.
Keep the calculation with the room record, including the original millimetre measurements and any assumptions. A future contractor, delivery team, or household member should be able to see whether the figure describes the whole floor, the clear floor, or a material quantity with an allowance. This record is also useful when room dimensions change after plastering, flooring, fitted storage, or partition work.
- Re-measure the longest wall, shortest wall, and every irregular section.
- Check that each composite shape is counted once only.
- Confirm that the result is labelled square metres, not metres.
- Compare the order quantity with supplier pack sizes and installation advice.
Room Size Calculator Verification Checklist
Before using the result, confirm that all measurements were taken from the same finished reference points. Check that the plan shows fixed fittings and access constraints, not just an empty outline. Confirm that every calculation can be read and repeated from the sketch or room record.
The final figure should answer a specific question: total floor area, usable floor area, furniture fit, or material quantity. Keep those answers separate so a clear-area result is not accidentally used to order flooring, or a gross-area result is not treated as available space for furniture. Recheck after any building work that changes wall thickness, floor finish, or fixed fittings.
- Measurements recorded in millimetres.
- Length and width converted consistently before multiplication.
- Irregular areas split into labelled, non-overlapping rectangles.
- Doors, windows, radiators, sockets, and fixed fittings marked.
- Result independently rechecked before ordering or installation.
Reproducible worked record
Illustrative L-shaped room area check
All numbers in this worked example are illustrative and synthetic, created to demonstrate the calculation method rather than describe a real property.
- Main rectangle length
- 4,200 mm = 4.2 m
- Main rectangle width
- 3,600 mm = 3.6 m
- Additional rectangular recess length
- 1,200 mm = 1.2 m
- Additional rectangular recess width
- 900 mm = 0.9 m
Main area: 4.2 x 3.6 = 15.12 m². Recess area: 1.2 x 0.9 = 1.08 m². Total illustrative floor area: 15.12 + 1.08 = 16.20 m².The check confirms that the illustrated L-shaped floor contains 16.20 square metres before any deductions for fixed obstructions or additions for installation waste.
Verification boundaryRe-measure both rectangles, confirm that the recess touches the main shape without overlapping it, and independently estimate the result using the drawn plan before ordering materials.
References and field record
Check the assumptions at their source.
The method uses consistent SI units and rectangle area arithmetic, with UK building guidance providing relevant context for measured access and building features.
- NISTSupports the consistent use of metric units and SI area measurements.The International System of Units (SI), NIST Special Publication 811
- UK govProvides official UK guidance relevant to access, circulation, and building features that should be considered alongside floor-area measurements.Approved Document M: Access to and use of buildings
References checked August 6, 2026. External specifications can change; verify the current document before relying on a product or regulated dimension.
Scope and limitations
This note helps householders organise measurements and understand the calculation. It does not replace an on-site decision by a designer, installer, contractor, or manufacturer. Fabrication, structure, electrical work, gas, waterproofing, and personal safety require suitably qualified verification.