Room Calculator: Measure and Plan a UK Room
Use a room calculator method to measure UK rooms, calculate floor area and volume, and check furniture, flooring and delivery requirements.
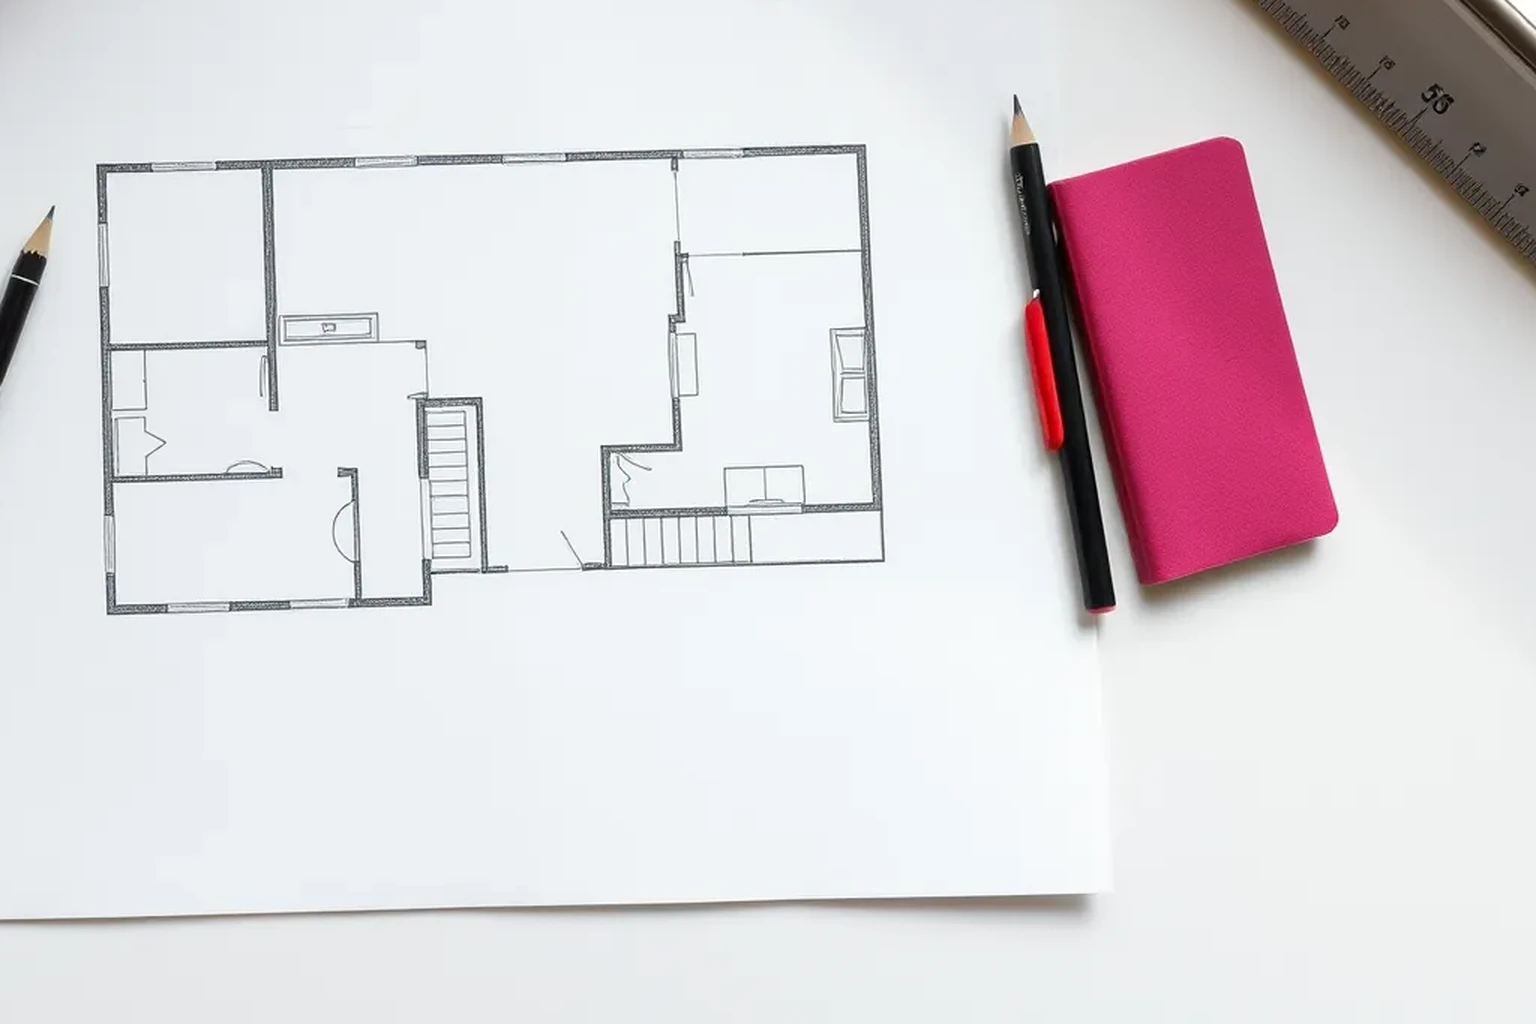
Measure the room in millimetres, record each usable wall and opening, then calculate floor area and volume from the dimensions. Check the arithmetic against a sketch and use the smallest measured clearance when ordering flooring, furniture, materials or deliveries.
Room calculator: define what you need to measure
Start by deciding what the calculation must answer. A flooring estimate usually needs floor area and a waste allowance from the retailer or installer, while a heating, decorating or ventilation plan may also need wall area, ceiling height or room volume. A delivery check needs the route from the street or communal entrance to the final room, not just the room dimensions.
Use millimetres throughout the survey because UK furniture, appliance and building-product dimensions are commonly specified in mm. Record the room name, date, property address and whether each measurement is taken between finished surfaces, skirting boards or structural walls. Do not assume the room is rectangular: measure both ends of every wall and note any chimney breast, alcove, boxed pipework, bay window or sloping section.
Draw a simple top-down sketch before calculating anything. Mark doors, windows, radiators, sockets, switches, pipes, permanent cabinetry and the direction each door opens. This drawing becomes the reference for testing whether the calculated area is actually usable for the proposed work.
- Tape measure or laser measure that reads in mm
- Pencil, clipboard and squared paper
- Camera for recording hidden or awkward details
- A second person for long or high measurements
Take a repeatable measurement set
Measure the length and width at floor level, then repeat each measurement at about waist height and close to the ceiling where access allows. If readings differ, record every value and use the smallest relevant dimension for fitted furniture or the largest area only when estimating material quantities. Differences can indicate walls that are out of square, thick skirting, panelling or a measurement taken to a different finished surface.
Measure ceiling height in at least three positions, especially where there is a beam, boxed service, dropped ceiling or sloping roof. Record the lowest clear height and the general height separately. For a room with a straightforward flat ceiling, the lowest reliable reading is usually the safer input for cupboards, tall furniture and delivery handling.
Measure openings and obstructions in the same unit. For each door, record the clear opening width with the door open, the frame-to-frame width if relevant, the height, threshold and swing. For windows, record sill height and any projection into the room; for radiators and fixed units, record their width, depth and distance from nearby corners.
- Length at floor, middle and high level
- Width at floor, middle and high level
- Lowest clear ceiling height
- Door, window and obstruction dimensions
- Access route widths and tight turns
Calculate floor area without hiding irregularities
For a rectangular room, convert the two dimensions from mm to metres before multiplying. The formula is length in metres multiplied by width in metres, giving square metres. For example, 4,800 mm becomes 4.8 m and 3,600 mm becomes 3.6 m, so the rectangular floor area is 4.8 x 3.6 = 17.28 m2.
Split an irregular room into rectangles or other simple shapes. Calculate each part separately, then add the results; for a notch or missing corner, calculate the enclosing rectangle and subtract the missing rectangle. Label every shape on the sketch so another person can reproduce the calculation rather than treating the final number as an unexplained estimate.
Do not deduct furniture that will be removed before flooring or decorating. Do deduct permanent voids only when they will not receive the material, such as a fixed masonry shaft or an area outside the finished floor. For fitted flooring, confirm the supplier's measuring and waste method because pattern direction, plank length, tile layout and installation practice can change the quantity ordered.
- Convert every mm measurement to metres before calculating m2
- Use separate rectangles for alcoves and projections
- Keep the unrounded calculation until the final step
- Record whether the result is gross floor area or installable area
Calculate wall area and room volume
For a simple four-wall room, calculate the perimeter by adding the four wall lengths, then multiply by the wall height. Subtract the areas of doors and windows only if you need a net decorating area. If the walls have different heights or the room includes a chimney breast, calculate each wall or section separately.
Room volume is length in metres multiplied by width in metres multiplied by height in metres, giving cubic metres. Use the average height only where the ceiling is genuinely consistent; for a sloping ceiling, split the space into simple solids or use a conservative estimate and label it as such. Volume can help organise ventilation, heating and storage discussions, but the appropriate product or system should still be selected using its manufacturer's or professional guidance.
Keep area and volume visibly separate in the record. Square metres describe a surface, while cubic metres describe a three-dimensional space. Mixing these units is a common source of incorrect paint, flooring, storage and equipment estimates.
- Wall area: perimeter x height
- Net wall area: gross wall area minus openings
- Room volume: length x width x height
- Use m2 for surfaces and m3 for volume
- Mark estimates where the ceiling is irregular
Use the result for furniture and fitting checks
Place furniture on the sketch using its manufacturer's assembled dimensions, including handles, doors, drawers, feet and any required ventilation gap. Show the intended position of beds, sofas, tables, wardrobes, appliances and storage rather than checking only whether each item fits against a single wall. A room can have enough calculated floor area but still fail because doors, drawers or windows conflict.
Check the narrowest route from the delivery point to the room. Measure the entrance door, communal door, hall, stair, landing, lift, turns and internal doorways. Include skirting, handrails, radiators and door closers where they reduce the clear width, and confirm whether a large item can be rotated at each corner rather than relying on its straight-line width.
For kitchens, utility rooms and bathrooms, record common UK fittings as fixed reference points: appliance bays, worktop depth, sink or toilet position, radiator location, boiler or cylinder access and service boxes. Treat manufacturer installation diagrams as the controlling dimensions for appliances and fittings, because nominal product sizes and required service clearances vary.
- Use assembled product dimensions, not packaged dimensions alone
- Check door and drawer swing in the planned position
- Measure the whole delivery route in mm
- Record fixed UK fittings and service access
- Confirm manufacturer clearances before ordering
Check flooring, paint and material quantities
Once the base area is verified, apply the supplier's stated waste or ordering method rather than adding an arbitrary percentage. Tiles and patterned coverings often need layout planning because cuts at opposite walls can look uneven or create extra waste. Ask for the product's pack coverage and confirm whether the quoted coverage already includes any allowance.
For paint, keep gross wall area, net wall area and ceiling area as separate figures. Product coverage varies by paint type, surface condition, colour change and number of coats, so use the coverage printed by the manufacturer and round up to complete containers. Porous, damaged or previously dark surfaces may require preparation or additional coats, which a room calculator cannot predict accurately.
For skirting, trim or coving, use the measured perimeter and subtract openings only where the trim will genuinely stop. Add the product's stated cutting allowance at the ordering stage and check available lengths against vehicle and storage constraints. Record the calculation, product, pack size and date so future purchases can be compared with the original survey.
- Keep gross and net quantities distinct
- Use manufacturer coverage and pack information
- Plan patterned layouts before ordering
- Record product, pack size and calculation date
- Re-measure after demolition or surface preparation
Record the calculation so it can be checked
Create one record with the sketch, raw dimensions, converted dimensions, formulas, results and assumptions. Keep the raw mm values even when the final plan uses rounded metres. Add photographs that show where each measurement starts and ends, especially around alcoves, bay windows, chimney breasts and boxed services.
Have a second person independently repeat the two dimensions that control the decision. Compare the new readings with the first record and investigate any material difference rather than averaging it without explanation. For a high-value order, ask the supplier, installer or delivery company to confirm the relevant dimensions and access requirements in writing.
Update the record after plastering, flooring, fitted furniture, door replacement or service alterations. The finished room may be smaller than the original shell, and a future delivery or replacement item will depend on the current clear dimensions. Store the final version with household records, product manuals and invoices.
- Save raw measurements and calculated results together
- Mark every assumption, deduction and rounding step
- Repeat critical measurements independently
- Recheck after building or fitting work
- Keep the record with household documentation
Verification checklist for the room calculator
Before using the result, confirm that all dimensions are in mm and that every conversion to metres is visible. Check that the sketch matches the room, that irregular sections have been split correctly, and that area has not been confused with volume. Review every opening and fixed obstruction that could affect installation or delivery.
Finally, compare the result with the purpose of the calculation. Flooring, paint, furniture, appliances and delivery each need different checks, so a correct floor area does not prove that a product will fit or that a quoted quantity is sufficient. Keep the calculation illustrative until the product instructions, supplier requirements or a site measure have confirmed the final order.
- Length, width and height rechecked
- All conversions and arithmetic visible
- Irregular areas added or subtracted correctly
- Doors, windows, fittings and route checked
- Supplier or installer requirements confirmed
- Final record dated and stored
Reproducible worked record
Illustrative rectangular bedroom area and volume check
All numbers in this worked example are illustrative and synthetic, not measurements from a real UK property.
- Length
- 4,800 mm = 4.8 m
- Width
- 3,600 mm = 3.6 m
- Clear ceiling height
- 2,400 mm = 2.4 m
Floor area: 4.8 m x 3.6 m = 17.28 m2. Room volume: 4.8 m x 3.6 m x 2.4 m = 41.472 m3.The illustrative room has a calculated rectangular floor area of 17.28 m2 and a calculated volume of 41.472 m3 before deductions, irregularities or installation allowances.
Verification boundaryRepeat the length, width and height measurements at a second position, confirm that the ceiling is level, and compare the arithmetic with the labelled room sketch before using the figures for an order.
References and field record
Check the assumptions at their source.
The method keeps measurements in SI units and makes the unit conversion explicit, consistent with NIST guidance on SI units; any product quantity or building decision still requires the relevant manufacturer's or professional guidance.
- NISTSupports the use and clear expression of metre-based SI units for the calculations.SI Units
- UK govProvides official UK guidance relevant to checking access and circulation dimensions where building work or applicable requirements are involved.Approved Document M: Access to and use of buildings
References checked August 6, 2026. External specifications can change; verify the current document before relying on a product or regulated dimension.
Scope and limitations
This note helps householders organise measurements and understand the calculation. It does not replace an on-site decision by a designer, installer, contractor, or manufacturer. Fabrication, structure, electrical work, gas, waterproofing, and personal safety require suitably qualified verification.