Radiator Cover Clearance Above Radiator: A Measuring Guide
Check radiator cover clearance above radiator using a repeatable measuring method that accounts for airflow, fittings and access.
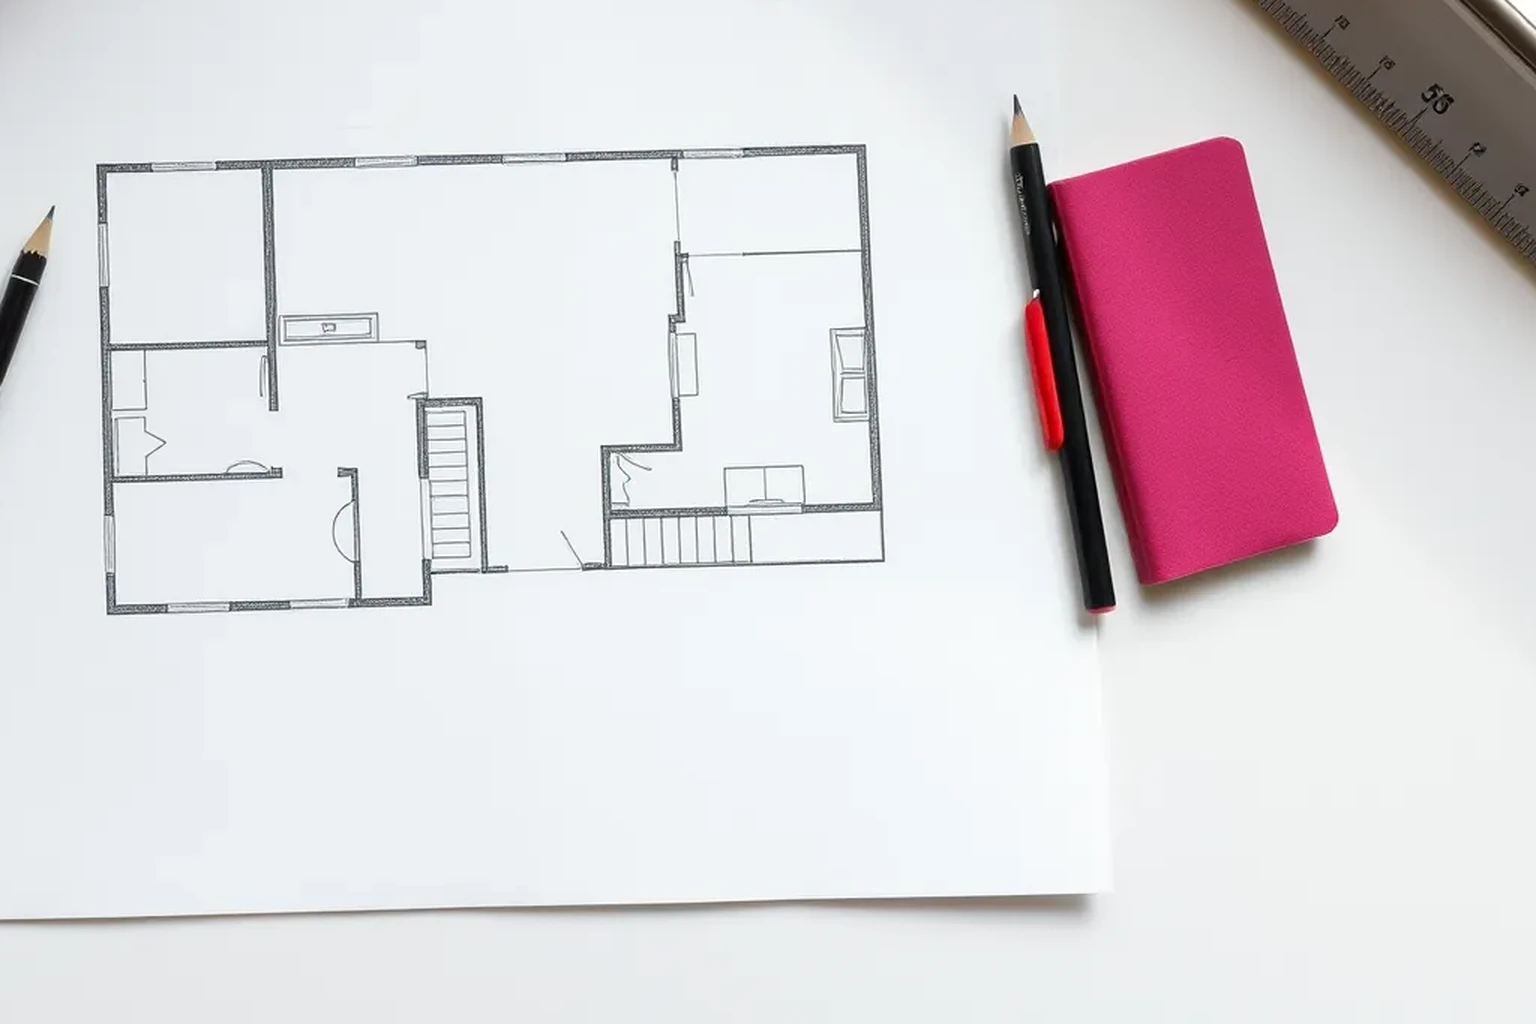
Measure from the radiator's highest point to the underside of the proposed cover top, using the finished installation position rather than the cover's outside dimensions. Compare that gap with the cover manufacturer's requirements, then check the vents, valves, bleed point and pipework before fitting.
Checking radiator cover clearance above radiator
The useful measurement is the free space between the top of the radiator and the underside of the cover's top panel. An external cover height does not reveal this gap because the top panel has thickness, and the cover may sit differently against skirting or an uneven floor. Measure the actual radiator and the position where the cover will stand. Record all dimensions in millimetres so they can be compared directly with the product drawing.
There is no single clearance figure that suits every radiator and cover. Designs vary in their top outlets, internal supports and fitting instructions, so check the manufacturer's stated requirements for the exact model before ordering or cutting panels. A cover should allow warm air to leave above the radiator and cooler room air to enter below it. Treat any example dimensions in this guide as arithmetic illustrations, not installation recommendations.
Record the radiator and its surroundings
Use a tape measure and note the floor-to-top height of the radiator at both ends. Include any part that rises above the main casing if it will sit beneath the cover top, and check whether the floor slopes. Measure the radiator's overall width and its projection from the wall. If the unit has projecting brackets or a deep valve assembly, record those separately rather than assuming the radiator panel is the widest or deepest point.
Look at the surrounding wall before selecting a cover. A skirting board can prevent the cover from sitting flush, while nearby sockets, furniture or a window board can limit its final position. Note where the central-heating flow and return pipes enter the radiator and which side carries the thermostatic radiator valve, or TRV, if one is fitted. Photograph the arrangement with the tape measure visible; this makes product comparisons easier later.
- Floor to radiator top at the left and right ends, in mm
- Radiator width and greatest projection from the wall, in mm
- Valve, pipe, bracket and skirting positions
- Space needed to reach the bleed point
Check the cover's internal dimensions
Find a dimensioned drawing for the cover, not just its listed overall height, width and depth. You need the height from the floor to the underside of its top panel in the position in which it will be fitted. If the cover has adjustable feet, a skirting cut-out or a wall fixing, check how those features alter that position. Ask the supplier for missing internal dimensions rather than estimating them from a photograph.
Subtract the radiator's highest measured floor-to-top height from the cover's floor-to-underside height. Repeat the calculation at both ends if the floor or radiator is not level, and use the smaller gap for your decision. Compare it with the manufacturer's specified clearance and fitting instructions. Also confirm that the cover's internal width and depth accommodate the radiator, valves and any required separation without pressing against them.
Trace the air path
Inspect where air enters at the bottom of the proposed cover and where heated air leaves at the top or front. A gap above the radiator is of limited use if a solid top, blocked grille or closely fitted shelf stops air from reaching the room. Check the product's vent arrangement as installed, including whether a window board or furniture will sit over an outlet. Do not cover a designed opening with stored items.
Think about the radiator's purpose as well as whether the cover physically fits. Energy Saving Trust explains that heating controls help manage room temperatures; a cover that obstructs airflow or affects a nearby TRV may make that control less effective in practice. Keep the valve accessible and follow the radiator, valve and cover makers' instructions where they address positioning. If performance is uncertain, ask the cover supplier for guidance specific to the model.
Allow for valves and routine access
Check that you can reach the TRV head or manual valve without removing a fixed panel. You should also be able to access the bleed point using the appropriate radiator key or tool and place a cloth beneath it when needed. A nominally generous top clearance may still leave too little hand room if the cover has an internal rail directly above that point. Test access using the cover drawing or a temporary cardboard template.
Look at how the cover can be removed for cleaning and maintenance. Confirm that its side panel will clear the valve and that pipework will not carry any of the cover's weight. Do not move, loosen or force heating fittings simply to make a cover fit. Where alterations to the radiator or pipework appear necessary, ask a suitably competent heating professional to assess them.
Confirm the installed position before fitting
Mark the proposed cover footprint on the floor with low-tack tape and check it against the radiator centreline. Hold a straightedge at the proposed underside height of the top panel, then remeasure the smallest space above the radiator. Check that skirting does not push the cover forward and that any required wall fixings suit the wall and the manufacturer's instructions. If the product allows adjustment, confirm its final setting before relying on the calculation.
After fitting, measure the gap again at both ends and inspect the bottom and top air openings. Open and adjust the valve, locate the bleed point, and remove and replace any access panel to confirm that these tasks remain practical. Observe the radiator during normal use for obvious airflow obstruction or poor room heating. If the installed position differs from the plan, reassess it against the product instructions rather than relying on the earlier measurement.
Final verification checklist
Keep a short record of the radiator measurements, the cover model and the manufacturer's fitting information. Note the measured gap after installation, not just the planned gap, because skirting and floor level can change the result. This record is useful when replacing the cover or explaining the installation to someone maintaining the heating.
Make the final check with the cover fully assembled in its normal position. Confirm that nothing rests on the radiator, air openings are unobstructed and the valve can be operated. If a requirement in the manufacturer's instructions cannot be met, choose a different cover or resolve the fit before using it.
- Measure the smallest installed gap above the radiator.
- Compare it with the exact cover manufacturer's instructions.
- Check clear lower inlets and upper outlets.
- Confirm valve, bleed point and removal access.
- Record the cover model and final measurements.
Reproducible worked record
Illustrative top-gap calculation
All dimensions in this worked example are synthetic and illustrate the calculation only, not a recommended clearance.
- Highest floor-to-radiator-top measurement
- 680 mm, illustrative
- Installed floor-to-underside-of-cover-top measurement
- 745 mm, illustrative
745 mm - 680 mm = 65 mm of space above the radiator.The illustrative installed gap is 65 mm; this arithmetic alone does not confirm that the cover is suitable.
Verification boundaryRemeasure at both ends after fitting, use the smaller gap, and compare it with the exact manufacturer's instructions while checking ventilation and access.
References and field record
Check the assumptions at their source.
Energy Saving Trust's heating-controls guidance supports keeping controls usable; the measurement method is a practical fit check, and the source does not prescribe a universal radiator-cover clearance.
- Energy Saving TrustExplains the role of heating controls, relevant to preserving access to a radiator valve or TRV.Heating controls
References checked August 6, 2026. External specifications can change; verify the current document before relying on a product or regulated dimension.
Scope and limitations
This note helps householders organise measurements and understand the calculation. It does not replace an on-site decision by a designer, installer, contractor, or manufacturer. Fabrication, structure, electrical work, gas, waterproofing, and personal safety require suitably qualified verification.