How to Work Out the Area of a Room
Learn how to work out the area of a room in square metres, including irregular layouts, alcoves, bay windows and UK measurements.
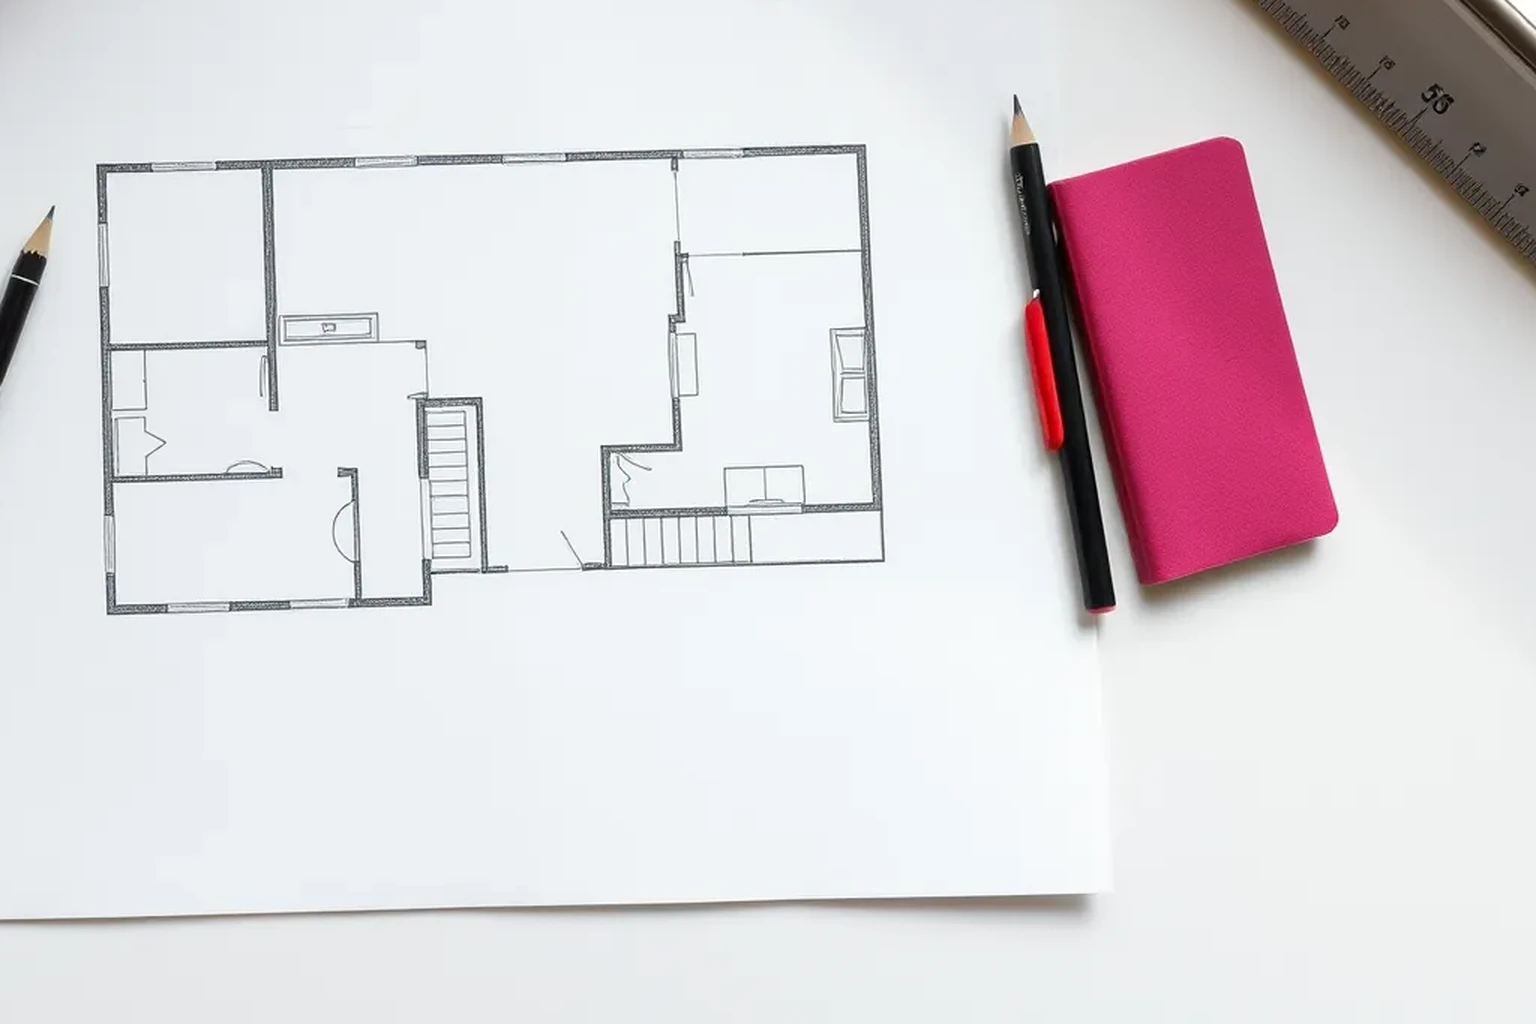
Measure the usable floor length and width in millimetres, multiply them, and convert the result to square metres by dividing by 1,000,000. For an L-shaped or otherwise irregular room, split the floor plan into rectangles, calculate each rectangle separately, then add the areas and check the total against a second measurement.
How to work out the area of a room: start with the right measurements
Room area means the amount of floor space inside the room, normally expressed in square metres (m²). The basic formula for a rectangular room is length multiplied by width. In a UK home, measure in millimetres (mm) because tape measures, flooring products, kitchen plans and many trade quotations commonly use metric dimensions.
Measure the floor dimensions between the finished faces of the walls, rather than measuring skirting board length or estimating from the outside of the building. Keep the tape level and record each measurement immediately, including whether it was taken at floor level or higher up the wall. For a quick planning figure, measure the main open floor area; for ordering materials, decide separately whether alcoves, cupboards, bays and other sections are included.
Clear movable furniture where possible and identify permanent features before measuring. Note radiators, chimney breasts, built-in cupboards, stair openings, door thresholds and changes in floor level. These details can affect the usable space even when they do not change the overall floor area.
- Use a steel tape measure or laser measure and record measurements in mm.
- Write length before width so your notes remain consistent.
- Take measurements to the nearest millimetre where practical.
- Sketch the room before doing the arithmetic.
Measure a simple rectangular room step by step
For a straightforward rectangle, measure the longer dimension from one finished wall face to the opposite wall face. Then measure the shorter dimension at right angles to it. If the room is empty, take each measurement in at least two positions because walls may not be perfectly parallel; record the larger and smaller readings rather than silently averaging them.
Multiply the two measurements while they are still in millimetres. For example, a room measuring 4,200 mm by 3,600 mm has an area of 15,120,000 square millimetres. Convert square millimetres to square metres by dividing by 1,000,000, giving 15.12 m².
Repeat the measurement at the opposite ends of the room and compare the results. A small difference may reflect plaster, skirting or a room that is slightly out of square, but a larger difference should be investigated before ordering flooring or commissioning fitted furniture. For estimating, state which dimensions and rounding method you used.
- Formula: rectangle area = length × width.
- Keep both measurements in the same unit.
- Convert mm² to m² by dividing by 1,000,000.
- Round only after calculating the full result.
Handle alcoves, bays and L-shaped rooms
An irregular room is easier to calculate when you split it into simple rectangles. Draw the room from above and mark every change in direction. Divide an L-shaped room into two rectangles, calculate each rectangle, then add the two results. This avoids relying on a single length and width that do not represent the whole floor.
For a bay window, measure the floor area within the bay only if the bay forms part of the floor you intend to cover or use. A chimney breast, deep alcove or built-in cupboard can be treated as a separate rectangle and added or excluded according to the purpose of the calculation. For example, a flooring estimate may include an alcove, while a furniture-layout calculation may need to show it separately as restricted space.
Check that every section of the sketch is counted once and only once. If the shape is difficult to divide, calculate the area of a larger enclosing rectangle and subtract the rectangles that are missing. Label every dimension on the drawing so another person can reproduce the result.
- Draw a simple top-down plan before calculating.
- Split the shape into rectangles wherever the walls change direction.
- Add included rectangles and subtract excluded cut-outs.
- Keep a separate note for restricted or unusable floor space.
Decide what to include for flooring and materials
The correct area depends on what you are planning. For paint, wallpaper or wall panelling, you need wall areas rather than floor area. For carpet, vinyl, laminate or engineered timber, measure the floor surface that will receive the material, including sections that are continuous with the main room and excluding permanent obstructions only when the supplier's ordering method allows it.
Suppliers may sell flooring in packs, rolls or fixed widths, so the calculated room area is not always the final quantity to buy. Add a waste allowance only after checking the product instructions, laying pattern, room shape and supplier guidance. Diagonal layouts, repeated patterns, thresholds and damaged boards can require more material than a simple rectangular calculation suggests.
Keep the measured area and the ordered quantity as separate figures. Record the product, pack coverage, batch or shade information, and the final number of packs or rolls. This makes it easier to compare quotations and retain a useful household record.
- Measure the actual floor surface to be covered.
- Check whether a supplier quotes coverage per pack, roll or linear metre.
- Confirm the recommended waste allowance with the product supplier.
- Keep spare material and product details for future repairs.
Use UK room details as measurement checks
Common UK fittings can expose a measurement error. Skirting boards may project beyond the finished plaster, radiators can limit furniture placement, and chimney breasts or boxed-in pipes can interrupt an otherwise straight wall. Door openings, architraves and thresholds also matter when checking whether a measured item can enter the room, even though they may not alter the total floor area.
Measure floor dimensions at the level relevant to the job. A new floor may finish against skirting, while fitted units may need the wall-to-wall dimension above the skirting or between fixed obstacles. Record the position and approximate size of radiators, sockets, switches, windows and pipework because they affect planning even when they are not part of the area calculation.
For deliveries, measure the route as well as the destination room. Note the width and height of the front door, internal doors, hallways, stairs, landings and tight turns. A room can have enough floor area for a sofa or appliance while the access route prevents delivery.
- Record skirting, radiators, chimney breasts and built-in cupboards.
- Measure around permanent obstructions rather than guessing their size.
- Check door and stair dimensions for delivery planning.
- Use a separate sketch for furniture clearances and access routes.
Check the arithmetic and record assumptions
A reliable calculation should be reproducible. Write the formula next to every result, retain the original millimetre measurements, and show the conversion to square metres. If you use rounded dimensions, mark them as estimates; if the room is irregular, retain the individual rectangle areas instead of recording only the final total.
Use a second check that does not repeat the exact same mistake. You can remeasure the width at both ends, calculate the shape using a different rectangle split, or compare the result with a supplier's measured plan. For a rectangular room, multiplying the dimensions in metres should produce the same result as multiplying in millimetres and dividing by 1,000,000.
Do not use an area figure as proof that a room meets a legal, construction or product requirement. Building work, energy assessments, fire safety, accessibility and electrical work can require additional measurements and professional advice. Where a project depends on a formal specification, use the responsible professional's measured survey.
- Keep the original measurements with the calculation.
- Check the result using metres as well as millimetres.
- Recheck irregular shapes with a second rectangle split.
- Mark whether the result is approximate, usable or supplier-confirmed.
Room area verification checklist
Before using the figure for a quote or purchase, compare the sketch with the actual room. Confirm that each wall change, bay, alcove and permanent obstruction has been represented. Check that the dimensions are labelled in millimetres and that no measurement has been copied from a different room or an old plan.
Then repeat the arithmetic from the written record. For a rectangle, multiply length by width; for an irregular layout, calculate every labelled rectangle and add or subtract it as shown. Round the final figure sensibly, but retain the unrounded result for pack and waste calculations.
Store the sketch, date, measuring method and product information with other household records. The room may change after new flooring, built-in storage or alterations, so record the date rather than treating the area as permanently current.
- Have all dimensions been measured at the correct finished surface?
- Are all sections included once, with cut-outs clearly excluded?
- Has the result been converted from mm² to m² correctly?
- Has the calculation been checked by a second method?
- Have supplier coverage and waste requirements been confirmed?
Reproducible worked record
Illustrative rectangular room calculation
All numbers in this worked example are illustrative and synthetic, and are not measurements from a real UK property.
- Room length
- 4,200 mm
- Room width
- 3,600 mm
- Unit conversion
- 1 m² = 1,000,000 mm²
4,200 mm × 3,600 mm = 15,120,000 mm²; 15,120,000 ÷ 1,000,000 = 15.12 m²The illustrative check confirms a rectangular floor area of 15.12 m² before any separate decision about waste, obstructions or restricted usable space.
Verification boundaryRepeat the calculation in metres: 4.2 m × 3.6 m = 15.12 m², then compare the result with measurements taken at the opposite ends of the room.
References and field record
Check the assumptions at their source.
The method uses consistent SI length units and square-unit conversion, consistent with NIST guidance on SI units; Energy Saving Trust guidance provides relevant context for measuring floor areas when considering home improvements.
- NISTSupports using consistent metric units and understanding derived square units for area calculations.SI Units
- Energy Saving TrustProvides authoritative UK home-improvement context where floor and building measurements may be needed when planning insulation work.Insulating your home
References checked August 6, 2026. External specifications can change; verify the current document before relying on a product or regulated dimension.
Scope and limitations
This note helps householders organise measurements and understand the calculation. It does not replace an on-site decision by a designer, installer, contractor, or manufacturer. Fabrication, structure, electrical work, gas, waterproofing, and personal safety require suitably qualified verification.