How to Measure Radiator Pipe Centres
Measure radiator pipe centres in millimetres, check valve positions, and compare your measurements with a replacement radiator's dimensions.
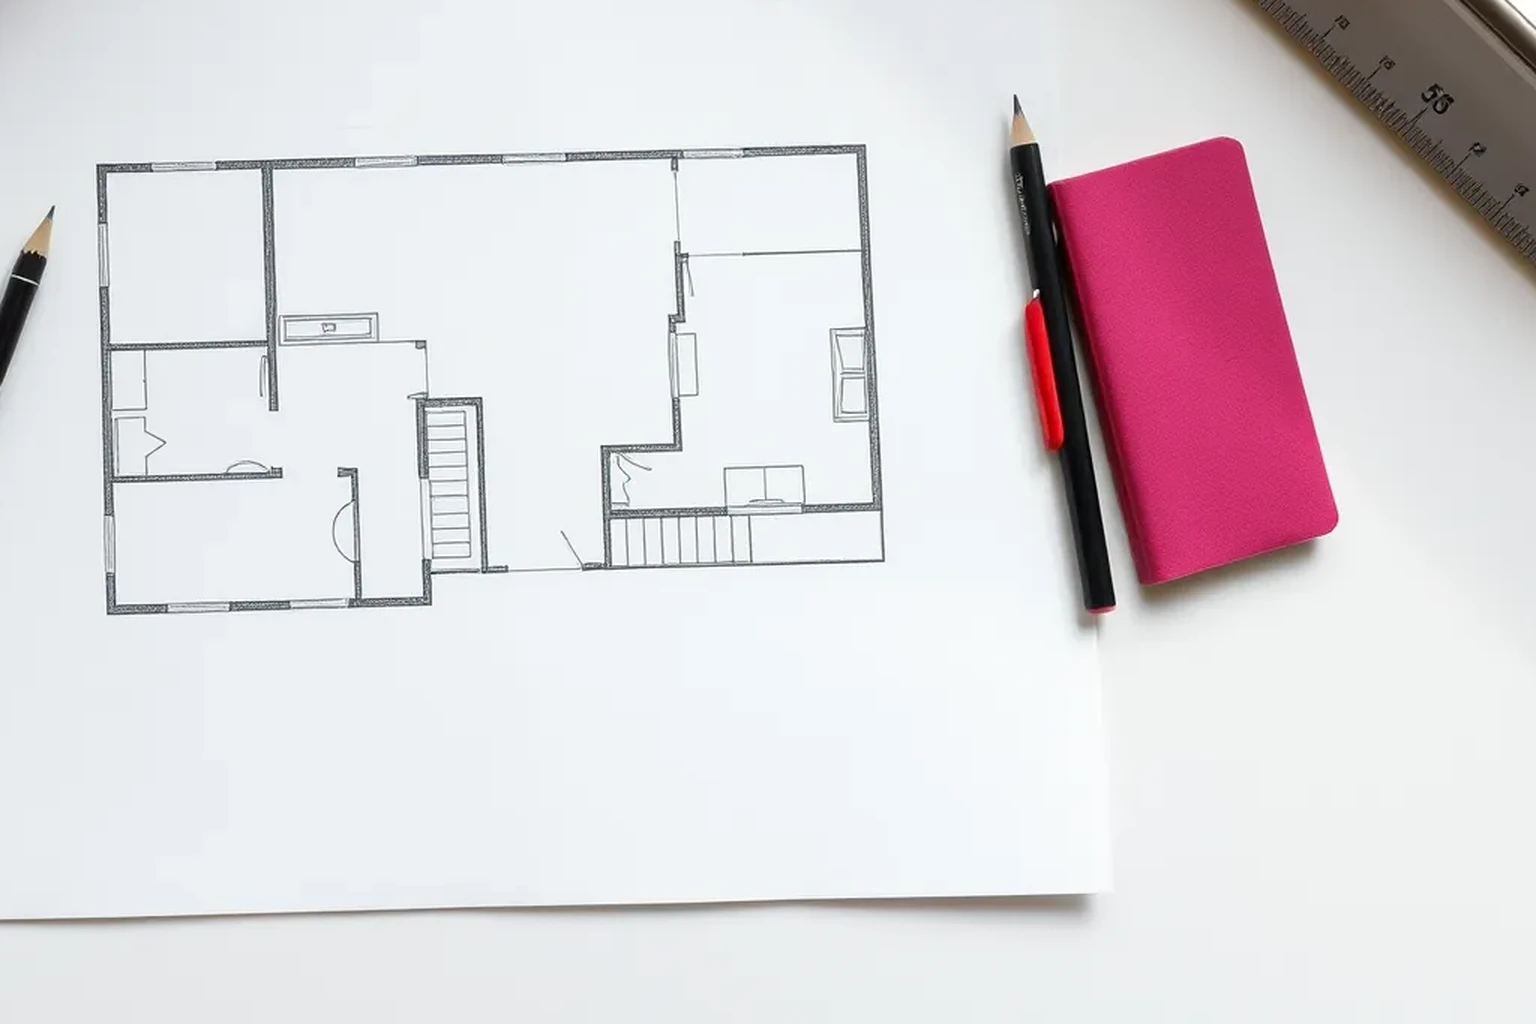
Measure the horizontal distance between the centre lines of the two existing pipes, using a straight section of each pipe at the same height. Then record pipe height and distance from the wall, and compare all three measurements with the proposed radiator and valve arrangement.
How to measure radiator pipe centres: what the dimension means
Radiator pipe centres are the horizontal distance from the middle of one heating pipe to the middle of the other. This is a pipe-to-pipe measurement, not the width of the radiator or the distance between the outer ends of its valves. Record it in millimetres, as radiator and valve dimensions are commonly presented in mm by UK suppliers. Write down what you measured so the number cannot later be mistaken for a radiator connection dimension.
Look for the two pipes that serve the radiator, usually rising from the floor or coming out of the wall. Their centres may not line up exactly with the connection points on a new radiator because valve bodies and tails occupy space. A replacement with the same nominal width therefore does not automatically fit the existing pipes. The useful question is whether the complete proposed radiator-and-valve arrangement reaches those pipe positions.
Prepare the area and identify straight pipe
Use a rigid ruler or tape measure marked in millimetres, a pencil, and a sheet for recording dimensions. Move anything that hides the pipes, but leave the valves and pipework connected. If the heating has been on, allow exposed metalwork to cool before reaching behind the radiator. Good light helps you distinguish the pipe edge from a shadow or the edge of a floor covering.
Find a straight section of each pipe before it enters a valve, elbow, or decorative sleeve. Take both horizontal readings at the same height; measuring one pipe near the floor and the other near a valve can conceal a slight lean. If a cover hides the metal, move the cover only if it lifts without disturbing the fitting. Otherwise, mark the measurement as approximate and arrange for a clearer inspection before ordering.
Measure from matching pipe edges
The simplest method for two pipes of the same outside diameter is to measure between matching edges. Hold the ruler horizontally and read from the left edge of the left pipe to the left edge of the right pipe. That distance equals the centre-to-centre distance because the same half-pipe width is included at each end. Check that the ruler has not followed a skirting board or run diagonally between pipes.
Repeat the reading from the right edge of the left pipe to the right edge of the right pipe. The two results should agree within the accuracy you can reasonably read from the ruler. If they do not, check whether the pipes differ in diameter, lean, or were measured at different heights. Record both readings rather than rounding away a discrepancy that could affect the fit.
- Choose straight, visible pipe sections at one height.
- Measure left edge to left edge, then right edge to right edge.
- Record the readings in mm and note any disagreement.
Check the result when only a gap is accessible
You can also measure the clear gap between the inward-facing edges of the pipes. Add half the outside diameter of each pipe to that gap to obtain the centre-to-centre distance. For pipes with equal outside diameters, this means adding one full pipe diameter. Measure the actual outside diameters if you can, rather than treating a nominal fitting size as an exact physical measurement.
An outside-to-outside span provides a second check: subtract half the outside diameter of each pipe. The gap and span calculations should produce the same centre distance when taken at the same height. If a valve or floor finish prevents a reliable reading, do not force an exact answer from an obscured edge. Note where you measured and have the position checked before committing to a radiator that offers little adjustment.
Record height, wall distance, and valve layout
Pipe centres alone describe only the horizontal spacing. Measure from the finished floor to a consistent point on each exposed pipe or valve connection, and note whether the pipes rise from the floor or emerge from the wall. Also record each pipe centre's distance from the finished wall face. These dimensions help establish whether the new radiator's connections and brackets will sit in the right place.
Photograph the existing valve layout from the front and side, including any thermostatic radiator valve, lockshield, and bends. UK domestic radiator installations often use pipework described as 15 mm and radiator tails described as 1/2 inch BSP, but those descriptions do not prove what is fitted in your room. Check the actual pipe size and the proposed valve and radiator specifications. A straight valve, an angled valve, and a different tail can place their connection points differently.
Compare your notes with the proposed radiator
Find the manufacturer's technical drawing for the exact radiator model and size, not just a shop listing showing its overall width. Identify the radiator connection positions, recommended wall clearance, bracket positions, and any stated dimensions involving valves. Add the dimensions of the valves and tails you intend to use where the drawing does not include them. Compare the resulting connection positions with your measured pipe centres, height, and wall distance.
Do not assume that a small mismatch can be taken up by tightening a joint at an angle. Ask the supplier or installer to confirm what adjustment the specified components allow, especially if the existing pipes are rigid or leave the wall close to the valve. If the positions do not match, the choices may include different suitable valves or alteration of the pipework. Resolve that before ordering, and keep a note of which drawing and valve models informed the decision.
Verification checklist
Return to the radiator with your recorded figure and repeat the edge-to-edge measurement at the same height. Check it by the other matching edges or by measuring the clear gap and pipe outside diameters. Confirm that the reading is labelled as pipe centre-to-centre spacing in mm. If another person is helping with the purchase, ask them to read the measurement independently.
Before placing the order, put the pipe spacing alongside the recorded floor height, wall distance, and valve photographs. Check those notes against the technical drawing and the exact valves and tails to be fitted. Keep the measurements with the order details so an installer can see how the fit was assessed. Any hidden pipe edge or unresolved difference between repeat readings is a reason to verify on site first.
- The centre-to-centre figure has been measured twice in mm.
- Both readings were taken from straight pipe at the same height.
- Floor height and wall distance have been recorded.
- The exact radiator and valve dimensions have been checked.
Reproducible worked record
Illustrative clear-gap measurement
All dimensions in this worked example are synthetic and illustrate the arithmetic only; they are not measurements of a particular installation.
- Illustrative clear gap between inward-facing pipe edges
- 985 mm
- Illustrative measured outside diameter of left pipe
- 15 mm
- Illustrative measured outside diameter of right pipe
- 15 mm
985 mm + (15 mm / 2) + (15 mm / 2) = 1,000 mmThe illustrative pipe centre-to-centre distance is 1,000 mm; it does not establish the required radiator width.
Verification boundaryAt the same height, measure from the left edge of one straight pipe to the left edge of the other; the illustrative check would also read 1,000 mm.
References and field record
Check the assumptions at their source.
NIST's official SI guidance supports expressing and checking these length measurements in millimetres; the radiator-specific measuring procedure is explained in the article, not attributed to NIST.
- NISTOfficial reference for SI length units and metric unit usage in the worked arithmetic.SI Units – Length
References checked August 6, 2026. External specifications can change; verify the current document before relying on a product or regulated dimension.
Scope and limitations
This note helps householders organise measurements and understand the calculation. It does not replace an on-site decision by a designer, installer, contractor, or manufacturer. Fabrication, structure, electrical work, gas, waterproofing, and personal safety require suitably qualified verification.