How to measure a loft hatch for a proper fit
Learn how to measure a loft hatch in millimetres, distinguish the opening from the lid, and check dimensions before ordering a replacement.
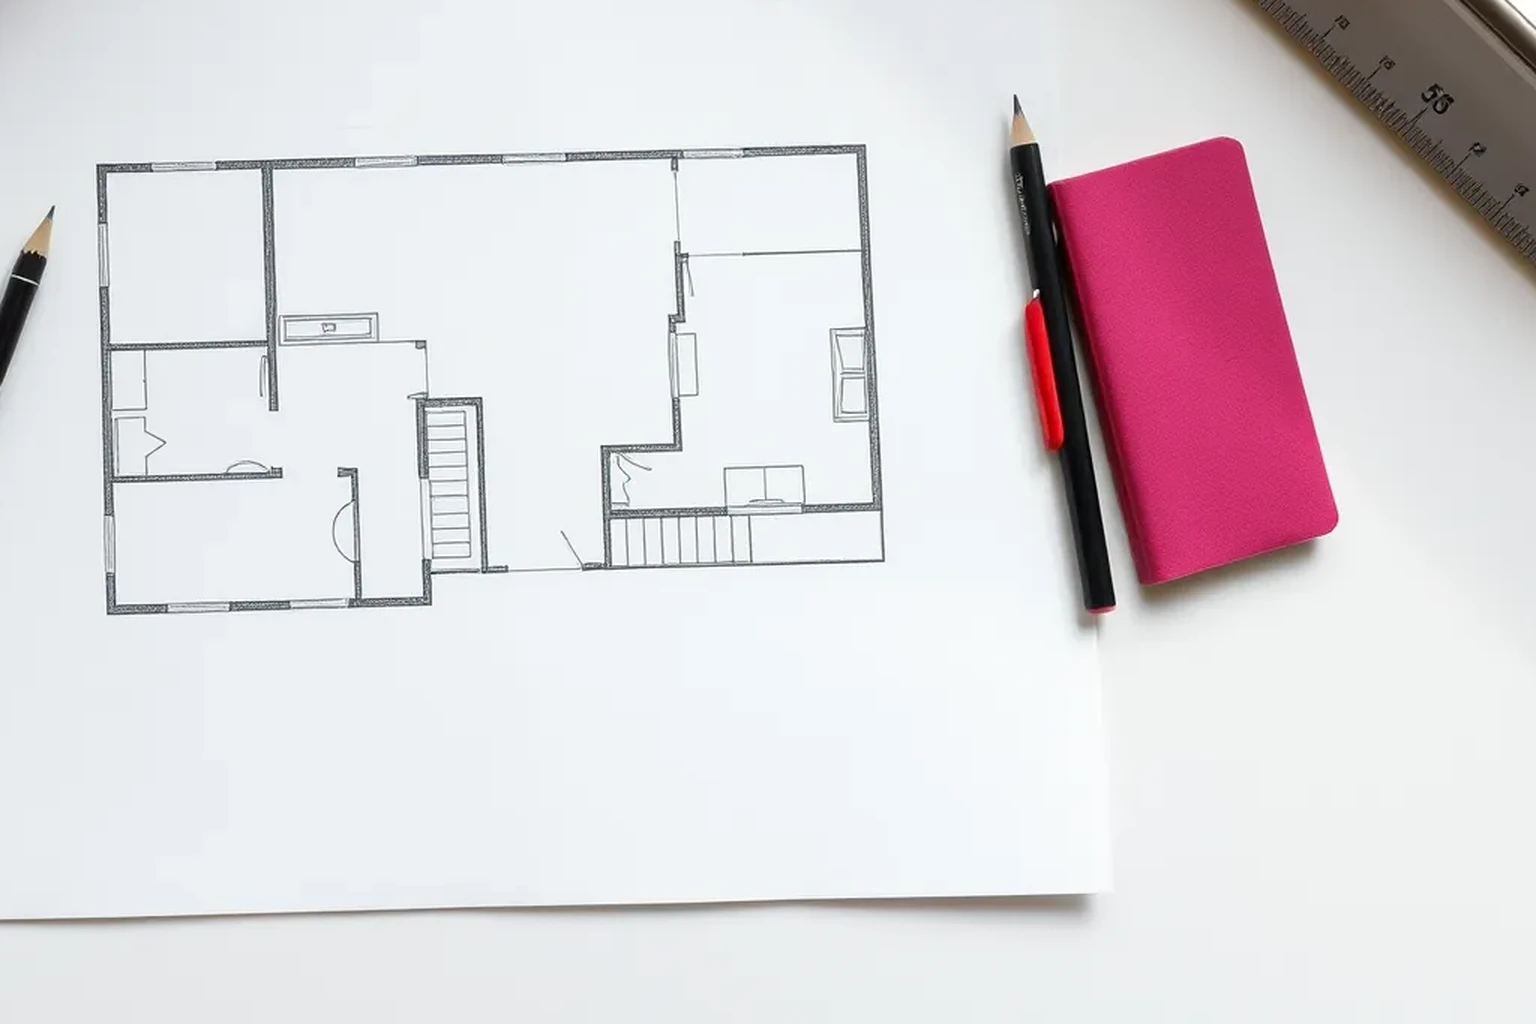
Measure the structural opening at several points in both directions, then record the smallest clear width and length. Measure the existing frame and lid separately, and compare your figures with the exact dimensions requested by the replacement hatch or ladder supplier.
How to measure a loft hatch: identify what you need
Start by deciding whether you are replacing only the lid, replacing the complete hatch and frame, or fitting a loft ladder. Each job may call for a different measurement: the lid, the clear structural opening, or the outside dimensions of a new frame. A decorative trim can hide the edge of the opening, so measuring the visible ceiling cut-out alone may give you the wrong figure. Keep the product instructions nearby if you have already chosen a replacement.
Use a rigid tape measure, a pencil, a notebook and a torch, and record every dimension in millimetres. Label each figure as width or length rather than relying on the order in which you wrote it down. Sketch the opening and mark the hinge side, any obstructions and the direction in which the lid opens. This small record makes it easier to compare your measurements with a supplier's drawing later.
Prepare the access area safely
Clear the floor below the hatch and place a suitable stepladder on a firm, level surface. Keep both hands available when climbing, and ask another person to steady or hold a loose hatch lid if necessary. Do not stretch sideways from the ladder to reach the far edge; climb down and reposition it. If you cannot see or reach an edge safely, stop and arrange help.
Open the hatch carefully and note whether the lid is hinged, lifted out or held by catches. From below, look for a frame, architrave or plasterboard edge that changes which surface you can measure. From above, treat the ceiling between structural supports as unable to carry your weight unless a suitable boarded route is present. Watch for electrical cables and other services around the opening, and do not move them to make room for a measurement.
Measure the structural opening at several points
For a complete replacement, find the clear opening between its structural edges, not the outside edge of decorative trim. Measure the width across the opening near one end, at the middle and near the other end. Repeat for the length, measuring across, down the middle and along the opposite side. Write down every reading rather than rounding it to a familiar hatch size.
Use the smallest width and smallest length as your initial fit check, because a frame cannot pass through a narrower part of the opening without adjustment. Record the largest readings too: a noticeable difference may show that the opening is out of square or that its edges are uneven. Measure corner to corner in both directions as an additional squareness check; unequal diagonals signal that a nominal width and length may not describe the whole opening. Diagonals alone do not tell you whether a product will fit, so retain the measurements taken along the sides.
- Width: measure at both ends and the middle.
- Length: measure at both sides and the middle.
- Diagonals: record both corner-to-corner distances.
- Mark which readings were taken between structural edges.
Measure the existing lid and frame separately
If you are replacing only the lid, measure its actual width and length in several places after checking how it sits in the frame. Record its thickness and note any lip, rebate, hinge position or catch that affects the fit. A lid may overlap the opening or sit inside a recessed frame, so its dimensions should not be substituted for the opening dimensions. Check whether the lid can be removed safely before attempting to measure a concealed edge.
For a new hatch assembly, also measure the existing frame's outside dimensions and the internal clear opening. Look for fixing points and any timber lining that may remain in place or need to be removed. Measure the available depth above the ceiling where the new frame will sit, especially if insulation or boarding is close to the opening. Photograph the frame and label the dimensions on your sketch so you can match them to a product drawing.
Check the space needed for a loft ladder
A loft ladder needs more than a correctly sized ceiling opening. Check the chosen model's stated opening dimensions, then measure the vertical distance its instructions specify, such as floor to ceiling or floor to the top of the opening. Measure where the ladder will land and whether a door, radiator or furniture obstructs its deployed position. Do not assume an existing hatch opening will suit a ladder simply because the ladder looks narrower than the lid.
Check the space above the hatch as well, including nearby roof timbers, stored items, services and the path taken by the folded ladder. Some ladder and hatch units are supplied as one assembly, so compare the manufacturer's frame dimensions and required fitting allowance with your structural-opening readings. Note the orientation of the hinge and the direction of deployment before ordering. If the opening would need enlarging, seek appropriate advice before altering structural timber.
Compare the figures with the product specification
Read the supplier's dimension drawing closely: 'opening size', 'frame outside size' and 'clear access size' describe different things. Compare like with like in millimetres, using your smallest opening readings for the tight-fit check. Follow the clearance or adjustment instructions supplied for that specific product; there is no single allowance that applies to every hatch. If a listing gives only a nominal size, request the detailed fitting dimensions before buying.
Recheck the opening if your measurements differ by more than you expected or an edge is hidden behind trim. The smallest width and smallest length may occur in different places, so confirm that the proposed frame can pass through the whole opening in its intended orientation. Also check that the lid can open without hitting a wall, light fitting or nearby door. Record the product name and drawing revision with your measurements so you can verify the order against the same specification.
Final verification checklist
Before ordering, repeat the width and length measurements from the same structural edges and compare them with your original notes. Confirm which figures describe the opening, the existing lid and the frame, and mark all three clearly if you have measured them. Check the hinge side, lid swing and any ladder landing area against the exact product drawing. Resolve any mismatch with the supplier rather than assuming the nominal product size includes fitting clearance.
After installation, check that the lid closes fully, catches securely and opens without rubbing. Inspect the insulation and draught seal around the hatch, following the product instructions for their placement. Keep the final measurements, product details and photographs with your household records; they will help if a part needs replacing later. If the installed hatch does not close correctly, address the fit before relying on it for routine access.
- Smallest structural width and length remeasured in mm.
- Frame and lid dimensions labelled separately.
- Product fitting dimensions and hinge orientation checked.
- Ladder clearance checked, if applicable.
- Closure, insulation and draught seal checked after fitting.
Reproducible worked record
Illustrative opening-to-frame fit check
All dimensions and the assumed fitting allowance in this example are synthetic and for illustration only.
- Illustrative opening widths
- 550 mm, 555 mm and 548 mm
- Illustrative opening lengths
- 700 mm, 704 mm and 699 mm
- Hypothetical product fitting allowance
- 5 mm overall in each direction
Smallest width = 548 mm; smallest length = 699 mm. With the hypothetical overall allowance, maximum frame outside dimensions for this simple check are 548 - 5 = 543 mm wide and 699 - 5 = 694 mm long.The arithmetic gives a preliminary frame-size limit for the illustrative opening, not a product recommendation or a universal clearance rule.
Verification boundaryRemeasure the structural opening, check its diagonals and compare the actual frame dimensions and required allowance with the chosen manufacturer's instructions.
References and field record
Check the assumptions at their source.
Energy Saving Trust's loft-insulation guidance supports checking hatch insulation and draught-proofing; it does not specify the illustrative measurements or fitting allowance.
- Energy Saving TrustSupports checking that a loft hatch is insulated and draught-proofed.Roof and loft insulation
References checked August 6, 2026. External specifications can change; verify the current document before relying on a product or regulated dimension.
Scope and limitations
This note helps householders organise measurements and understand the calculation. It does not replace an on-site decision by a designer, installer, contractor, or manufacturer. Fabrication, structure, electrical work, gas, waterproofing, and personal safety require suitably qualified verification.