How to calculate radiator BTU requirements for a room
Learn how to calculate radiator BTU requirements from room heat loss, then check the result against UK radiator ratings and system temperatures.
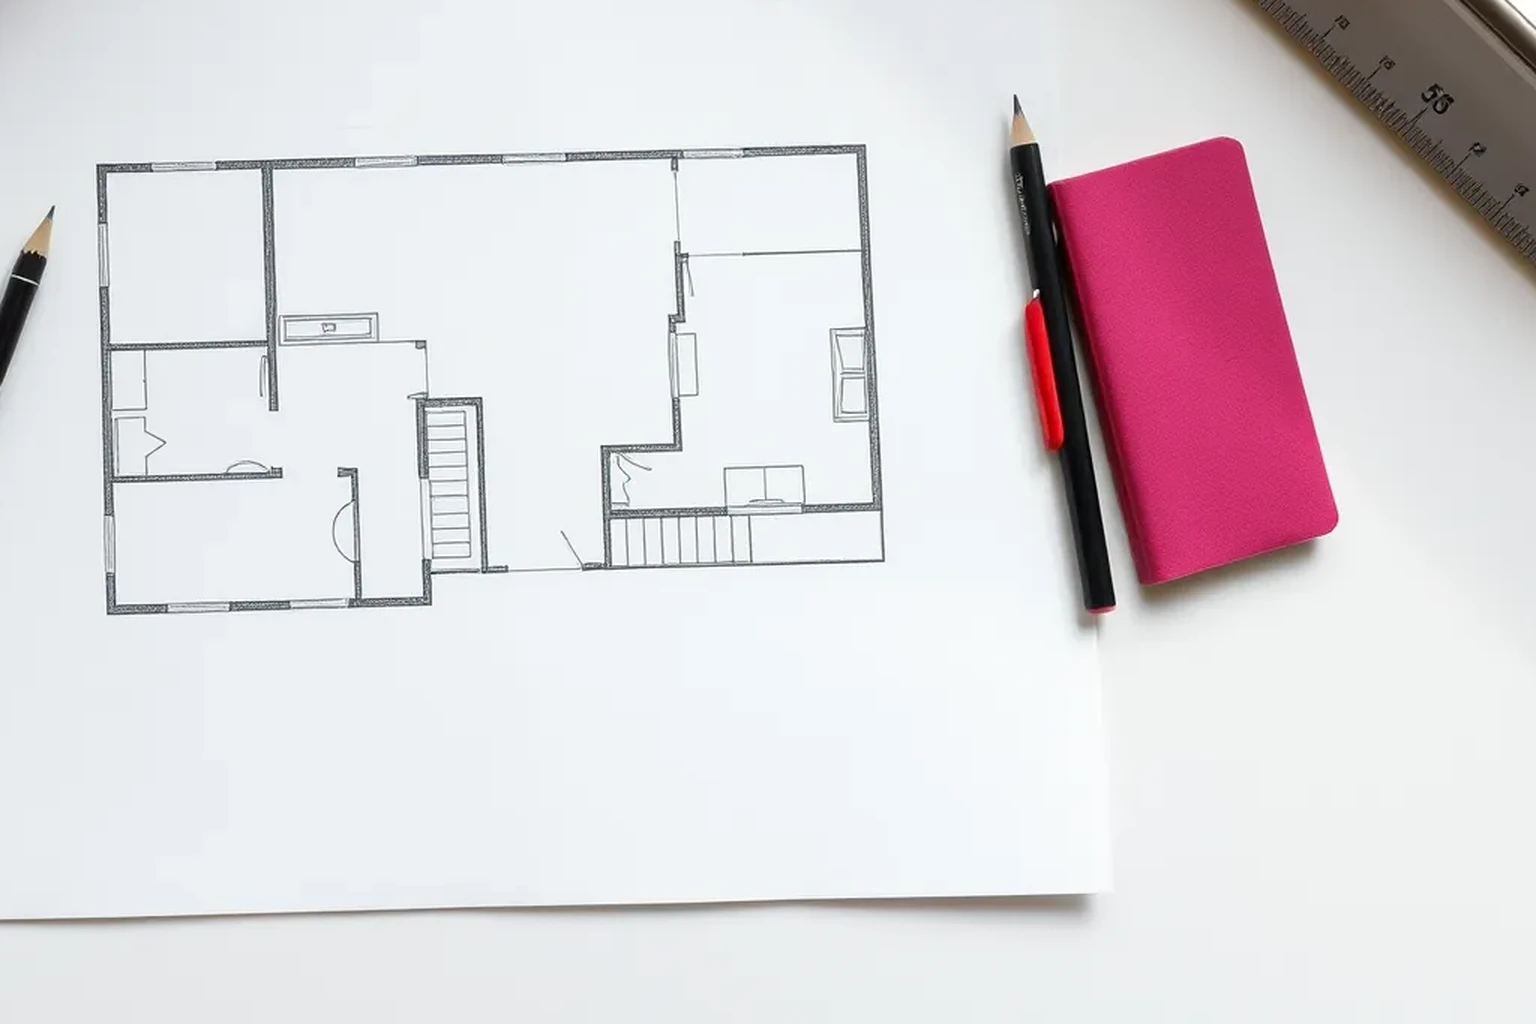
Estimate the heat a room loses through its exposed surfaces and through ventilation, then convert that result from watts to BTU per hour. Select a radiator whose published output meets that loss at the flow and return temperatures your heating system will actually use.
How to calculate radiator BTU requirements
A radiator's required output is the rate at which the room loses heat on a cold day. Start with the room's dimensions, exposed surfaces, insulation and ventilation, then choose an indoor temperature and a local outdoor design temperature. Add the resulting heat losses in watts and multiply by approximately 3.412 to express the answer in BTU per hour. Radiator listings often shorten this unit to “BTU”, but the rating describes heat delivered per hour.
This method is useful for comparing radiators and identifying rooms that need a closer assessment. It is an estimate, not a substitute for a room-by-room heat-loss calculation when sizing a new boiler or heat pump. Record your assumptions so an installer can check them, particularly where insulation is unknown or a room has large glazed areas.
Measure the room and its exposed surfaces
Measure the room's length, width and ceiling height in metres; dimensions taken in millimetres should be divided by 1,000. Multiply the three figures to find room volume in cubic metres. Sketch each wall, window, external door, ceiling and floor, noting what is on the other side. A wall facing outdoors loses heat differently from one adjoining another heated room.
For each exposed surface, calculate area in square metres. Subtract the window and door areas from their surrounding wall before recording the wall area, so the glazing is not counted twice. Check whether the ceiling is below a heated room or an unheated loft, and whether the floor is over ground or an unheated space. Keep measurements to a sensible precision: a guessed insulation value matters more than an extra millimetre on a tape measure.
- Record length, width and height, plus the date measured.
- Mark which surfaces face outdoors or unheated spaces.
- Measure each window and external door separately.
Estimate fabric heat loss
For each exposed surface, multiply its area by its U-value and the temperature difference across it: area × U-value × temperature difference = watts. A U-value describes heat flow through a square metre of construction for each degree of temperature difference. Lower values indicate less heat loss. Add the results for walls, glazing, doors, roof and floor, using values appropriate to the actual construction rather than a single figure for the whole room.
Choose an indoor design temperature appropriate to the room's use, and obtain an outdoor design temperature appropriate to the property and heating design. Their difference is expressed in kelvin; a difference of 22°C is also 22 K. For surfaces next to ground or another space, the temperature on the far side may differ from outdoor air, so a simple outdoor-air calculation can misstate their loss. If construction or insulation is uncertain, ask an installer or energy assessor for defensible U-values instead of treating a guess as measured fact.
Allow for ventilation and draughts
Warm air leaving a room must be replaced by cooler air, adding to the heating load. A simplified estimate is 0.33 × room volume in cubic metres × air changes per hour × temperature difference in kelvin, giving watts. The 0.33 factor is an approximation for the heat capacity of air in these units. Add this figure to the fabric loss, but label the assumed air-change rate clearly because actual leakage and ventilation vary considerably.
Look for open flues, permanent vents, extractor fans, trickle vents and obvious draughts before settling on an assumption. Do not count on sealing a required ventilation opening to reduce the calculated load. Ventilation arrangements must still meet the property's needs, including moisture and indoor air quality. In England, Approved Document F provides government guidance on ventilation; requirements and guidance elsewhere in the UK should be checked for the relevant nation.
Convert the total and check radiator ratings
Add fabric and ventilation losses to get the room's estimated heat demand in watts. Multiply watts by approximately 3.412 for BTU per hour; dividing a published BTU-per-hour rating by the same factor converts it back to watts. Compare like with like: a radiator rated at 3,000 BTU per hour is approximately 879 W at the temperature conditions stated by its manufacturer. It is not necessarily an 879 W radiator at every system setting.
Find the manufacturer's stated output conditions, often shown as a temperature difference between the radiator's average water temperature and the room, such as ΔT50. Use the manufacturer's correction data for your proposed flow temperature, return temperature and room temperature. This is especially important with lower-temperature heat-pump systems, where a radiator may deliver substantially less than its higher-temperature catalogue rating. If the corrected output falls short, consider a larger radiator, additional emitter capacity or improvements to the room's heat loss.
- Check that the rating is output in BTU per hour or watts, not stored energy.
- Read the stated ΔT rating and the manufacturer's correction table.
- Compare corrected output with the estimated room loss.
Check the choice against the installation
Confirm that the selected radiator fits the available wall space, allowing for manufacturer-specified clearances and access to valves. UK radiator dimensions are commonly listed in millimetres; check height, width and pipe-centre positions rather than relying on a nominal size. Inspect the existing pipework and valve connections before ordering. Common UK domestic radiators use 15 mm pipework and threaded valve connections, but existing fittings vary and should be verified on site.
Also consider whether the room has more than one radiator and whether furniture or curtains would obstruct heat circulation. Sum the corrected outputs of all emitters serving the room, using the same operating temperatures for each. A thermostatic radiator valve controls room temperature; it does not increase a radiator's maximum output. Ask the heating designer to confirm the final selection if the system temperatures, hydraulic capacity or building fabric are uncertain.
Final verification checklist
Before ordering, compare your recorded dimensions with a second measurement and confirm that each window and door was deducted from its wall area. Check which surfaces actually face outdoors, ground or unheated spaces. Review every assumed U-value, indoor temperature, outdoor temperature and air-change rate. Recalculate the totals if any of those inputs change.
Finally, verify that the radiator's corrected output meets the estimated watts required at the intended flow and return temperatures. Check its physical dimensions, pipe centres, valve compatibility and clearances against the installation location. Keep the calculation and the manufacturer's output table with your household records. For a new heating system or significant alterations, have a competent heating professional validate the room-by-room design.
- Recheck areas, units and the watts-to-BTU-per-hour conversion.
- Confirm output at the planned operating temperatures.
- Confirm fit, connections and the installer’s final assessment.
Reproducible worked record
Illustrative single-storey room heat-loss check
All dimensions, temperatures, U-values and ventilation figures in this example are synthetic and illustrative, not measurements or recommended design assumptions for a real property.
- Room volume
- 4.0 m × 3.0 m × 2.4 m = 28.8 m³
- Temperature difference
- Illustrative 21°C indoors minus −1°C outdoors = 22 K
- Exposed fabric
- 10 m² wall at 1.5 W/m²K; 2 m² glazing at 2.8 W/m²K; 12 m² roof at 0.35 W/m²K; 12 m² floor at 0.7 W/m²K
- Ventilation assumption
- Illustrative 0.5 air changes per hour
Fabric: (10 × 1.5 + 2 × 2.8 + 12 × 0.35 + 12 × 0.7) × 22 = 730.4 W. Ventilation: 0.33 × 0.5 × 28.8 × 22 = 104.5 W. Total: 730.4 + 104.5 = 834.9 W; 834.9 × 3.412 ≈ 2,849 BTU per hour.The illustrative room needs approximately 835 W, or 2,849 BTU per hour, before checking a radiator's output at the proposed system temperatures.
Verification boundaryRecalculate each exposed area and assumed value, then compare the result with the manufacturer's radiator output corrected for the proposed flow, return and room temperatures.
References and field record
Check the assumptions at their source.
The example uses building-fabric and ventilation concepts covered by the UK government's Approved Documents L and F; its figures and simplified arithmetic are illustrative, not values prescribed by those documents.
- UK govOfficial guidance relevant to assessing the thermal performance of dwelling fabric.Approved Document L, Conservation of fuel and power, Volume 1: Dwellings
- UK govOfficial guidance on ventilation in buildings in England; supports checking ventilation needs rather than assuming openings can be closed.Approved Document F: Ventilation
- Energy Saving TrustExplains heat-pump operation and why heating emitters and system temperatures need consideration.Air source heat pumps
References checked August 6, 2026. External specifications can change; verify the current document before relying on a product or regulated dimension.
Scope and limitations
This note helps householders organise measurements and understand the calculation. It does not replace an on-site decision by a designer, installer, contractor, or manufacturer. Fabrication, structure, electrical work, gas, waterproofing, and personal safety require suitably qualified verification.