How to calculate area of a room in square metres
Learn how to calculate area of a room using measurements in millimetres, including a practical method for alcoves and L-shaped spaces.
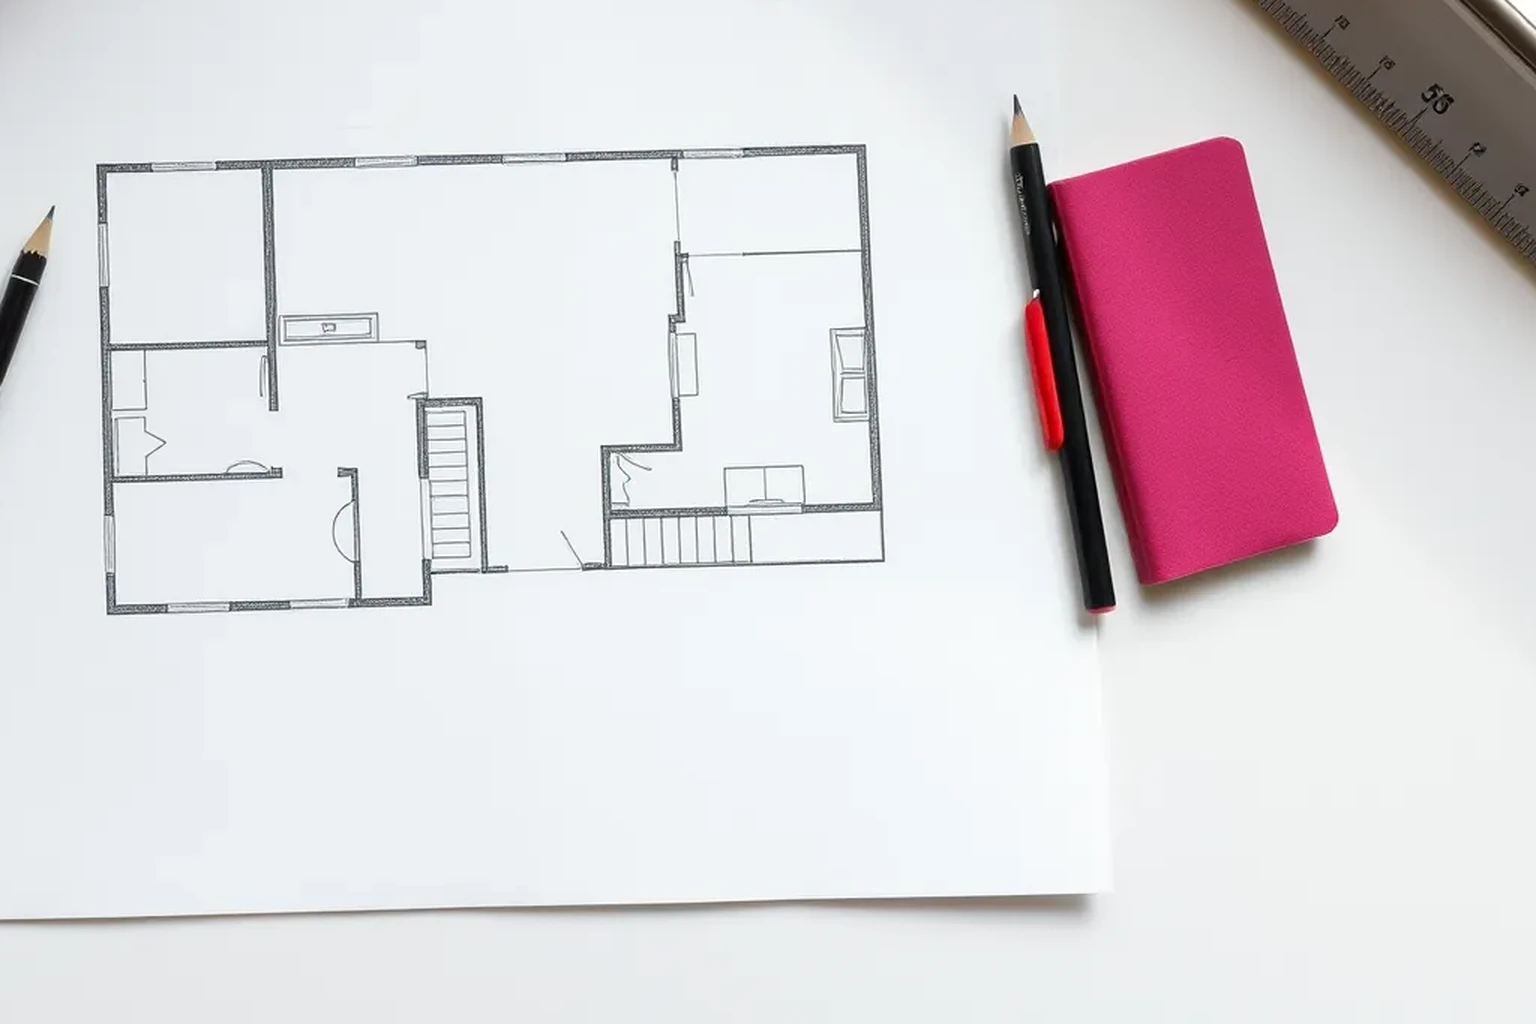
Measure the room's floor dimensions, convert them to metres, then multiply length by width to find square metres. For an irregular room, divide the floor plan into rectangles, calculate each area and add the results before checking your measurements.
How to calculate area of a room: start with the floor
Room area usually means the amount of floor surface, expressed in square metres (m²). For a rectangular room, measure its length and width, convert both measurements to metres, and multiply them. A room measuring 4.2 m by 3.6 m has an area of 15.12 m². Keep the measured floor area separate from any extra material you may order for cuts or waste.
Before measuring, decide what your figure needs to describe. A floor-area figure for a room plan may include floor beneath movable furniture, while a flooring order may need separate consideration of fixed kitchen units or other areas that will not be covered. Paint and wallpaper require wall measurements, not floor area. Write your purpose at the top of your sketch so you do not reuse the figure for a different job without checking it.
Sketch the room and choose measurement points
Draw a simple outline of the room as seen from above, marking doors, alcoves and any change in wall direction. The sketch does not need to be to scale, but each dimension should have a clear place on it. Mark where the main rectangle ends and where an alcove or projection begins. This makes it easier to see which parts of the floor have already been counted.
Measure the floor footprint between the wall lines relevant to your job, and record exactly where you placed the tape. Skirting boards can affect a measurement taken close to the floor, so be consistent if you measure just above them. A radiator, open door or sofa may block a straight run; move what you safely can or use a second person to keep the tape level. Do not estimate a hidden dimension from the visible gap alone.
Measure in millimetres and convert once
Record each dimension in millimetres on your sketch, such as 4,200 mm and 3,600 mm. Millimetres make it easier to note the precision shown on a typical UK tape measure without mixing metres and centimetres. Measure each main dimension twice, ideally from opposite ends of the room, and investigate a difference that could change the quantity you need. Keep the original readings until the calculation is complete.
Convert millimetres to metres by dividing by 1,000: 4,200 mm becomes 4.2 m. Multiply the two dimensions in metres to get square metres, so 4.2 × 3.6 = 15.12 m². Alternatively, multiplying dimensions recorded in millimetres gives square millimetres; divide that answer by 1,000,000 to get square metres. Do not divide by 1,000 after multiplying two millimetre measurements, as that produces the wrong area.
Split irregular rooms into simple rectangles
For an L-shaped room, draw a line across the inside corner to divide the floor into two rectangles. Measure the length and width of each rectangle, calculate their areas separately, and add them. An alcove outside the main rectangular footprint can be treated as a smaller rectangle in the same way. Check that the two rectangles meet without overlapping, or the shared floor will be counted twice.
You can also draw one large rectangle around an irregular outline and subtract a rectangular part that is not actually floor. Choose whichever approach leaves fewer awkward measurements, then mark the added or subtracted part on your sketch. A bay or angled wall may need a more detailed breakdown, particularly when ordering fitted materials. If an irregular feature matters to an installer, give them the dimensions and sketch rather than relying on one rounded area figure.
Check what the area includes
Floor area and floor-covering quantity are related but not always identical. A freestanding table or sofa does not remove floor from the room's area. Fixed kitchen cabinets, a built-in wardrobe and a hearth may affect where a particular floor finish will be laid, depending on the work planned. Note these features separately instead of silently subtracting them from the room-area calculation.
Look at doorways and adjoining spaces before using the result for an order. A threshold, cupboard floor or connecting passage may need its own measurement, while a door swinging over the room does not change the floor footprint. If you are buying flooring in packs, the pack coverage and any cutting allowance are separate from your measured area. Check the product and installation instructions, because layouts and materials create different amounts of offcut.
Make the calculation usable for a project
Label your final figure as measured floor area and show the arithmetic beside it. For example, write the dimensions of each rectangle, its calculated area and the total, rather than recording only a final number. This helps you spot a transposed measurement and gives a supplier or installer something they can verify. Keep any proposed ordering quantity on a separate line so the two figures cannot be confused.
Retain enough detail to measure again after furniture has moved or work has changed the room. Note whether dimensions were taken wall to wall, above skirting, or between the edges of a planned floor covering. If a room is not quite square, measure its width at more than one point instead of assuming both ends match. For fitted flooring or furniture, accurate edge dimensions and obstructions can matter more than the area alone.
Verification checklist
Check that your sketch shows the whole floor outline, including alcoves, recesses and changes of direction. Confirm that every rectangle has a measured length and width and that no part has been omitted or counted twice. Recheck the longest dimensions and any short dimension that defines an alcove. Make sure the dimensions used in multiplication were both converted to metres.
Read the arithmetic once more and confirm that the result is labelled in m², not metres. Compare the total with the rough footprint you would expect from the room's longest length and width; an unusually large result can reveal a conversion error. Finally, check whether your intended purchase needs measurements of fixed fittings, a cutting allowance or an installer's site survey in addition to the area. Keep those decisions separate from the verified room measurement.
- Sketch includes every part of the floor footprint.
- Each dimension has been measured and recorded in mm.
- Calculations use metres and give an answer in m².
- Added or subtracted rectangles do not overlap.
- Ordering allowances are recorded separately from measured area.
Reproducible worked record
Illustrative rectangular room with an alcove
All dimensions in this example are illustrative, synthetic measurements, not measurements of a real room.
- Main rectangle
- 4,200 mm × 3,600 mm (illustrative)
- Alcove outside the main rectangle
- 1,200 mm × 600 mm (illustrative)
(4,200 ÷ 1,000) × (3,600 ÷ 1,000) = 4.2 × 3.6 = 15.12 m²; (1,200 ÷ 1,000) × (600 ÷ 1,000) = 1.2 × 0.6 = 0.72 m²; total = 15.12 + 0.72 = 15.84 m².The illustrative floor footprint, including the alcove once, is 15.84 m².
Verification boundaryRe-measure all four dimensions in millimetres, check that the alcove lies outside the main rectangle, and repeat the calculation using the new readings.
References and field record
Check the assumptions at their source.
NIST's SI units guidance supports expressing lengths in metres and the resulting area in square metres; the room dimensions and arithmetic example are illustrative.
- NISTProvides authoritative SI unit conventions for metres and square metres.SI Units
References checked August 6, 2026. External specifications can change; verify the current document before relying on a product or regulated dimension.
Scope and limitations
This note helps householders organise measurements and understand the calculation. It does not replace an on-site decision by a designer, installer, contractor, or manufacturer. Fabrication, structure, electrical work, gas, waterproofing, and personal safety require suitably qualified verification.