How Much Should a Worktop Overhang? A UK Measuring Guide
How much should a worktop overhang? Measure your cabinets, doors and clearances before choosing a front edge or breakfast-bar projection.
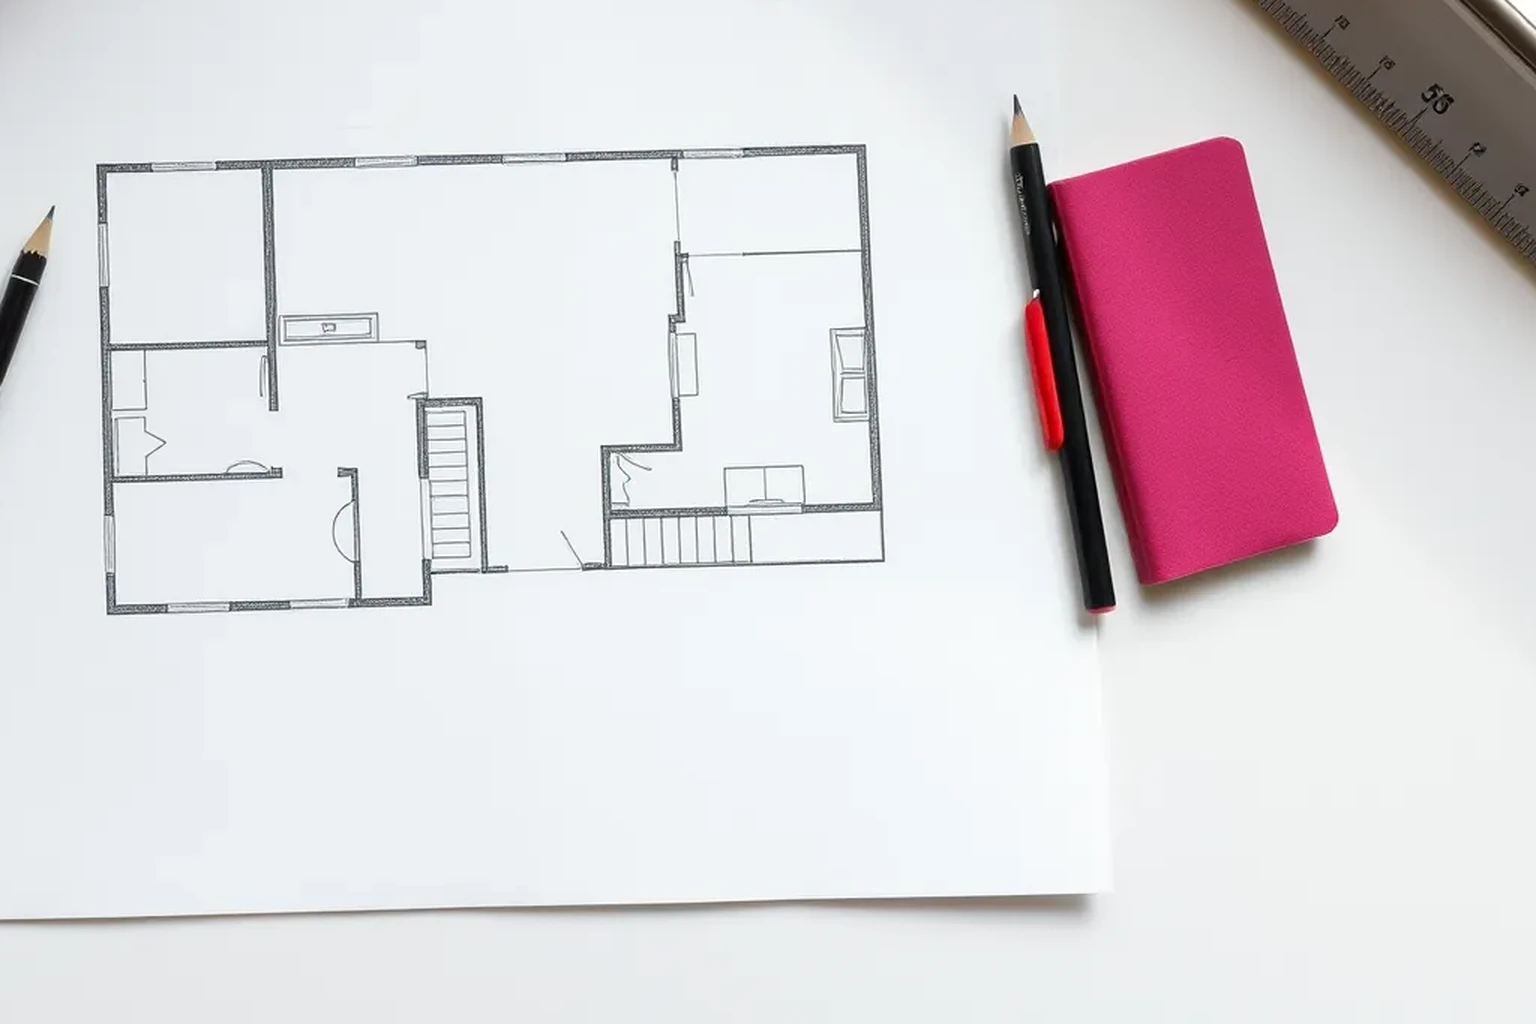
Start by measuring from the finished wall to the actual front of each base cabinet, then choose a front projection that clears the doors and handles. Check exposed ends, corners and seating separately, and confirm any unsupported projection with the worktop supplier or fitter before ordering.
How much should a worktop overhang at the front?
For a conventional run of UK kitchen base units, a front overhang of around 20–30 mm beyond the cabinet face is a useful measuring starting point, not a required dimension. The finished edge should cover the cabinet and sit clear of closed doors or drawer fronts. The right projection depends on the door thickness, handle shape and worktop edge profile. Measure those parts together rather than ordering from the nominal cabinet depth alone.
Be clear about which face you are measuring from. A cabinet carcass, its fitted door and a projecting handle can each end at a different point. Mark the proposed worktop edge on masking tape and view it from above and from the side. If it looks too shallow or obstructs a handle, revise the mark and record the final distance in millimetres.
Measure the installed cabinets and walls
Measure from the finished wall surface to the front face of the installed carcass at several points along the run. Include tiles or other wall finishes that will remain in place, and note whether a splashback will sit on the worktop. Take measurements near both ends and beside any corner or tall unit. A wall that is not straight can change the depth needed for a consistent front edge.
Record the largest wall-to-carcass measurement, then check how much material the proposed worktop has available for fitting against the wall. Do not assume that every base unit described as 600 mm deep measures exactly 600 mm from the finished wall. Packing, pipe clearance and wall variation can alter the installed position. Give the fitter your measurements and mark which edges must remain finished.
- Measure from finished wall to carcass front at both ends and the middle.
- Record door and handle projection separately.
- Mark the proposed finished front edge on the cabinets.
Check doors, drawers and the front edge
Fit or temporarily position a representative door and drawer front before settling the front overhang. Open each fully and check the planned worktop edge against handles, pull-out fittings and nearby tall-unit doors. Look particularly closely at corner cupboards, where two opening paths may meet. A dimension that clears one closed door may still feel awkward when the kitchen is in use.
Ask how the chosen edge will be finished. A rounded or profiled edge changes where the visible front appears to sit, while an applied edging strip may affect the final dimension. Some worktops arrive with a factory-finished front edge that cannot simply be trimmed back. Confirm which edge the supplier expects the fitter to cut before relying on spare depth for wall scribing.
Treat exposed ends and corners separately
An exposed end does not automatically need the same overhang as the front. Choose its projection after checking the end panel, adjacent doorway and walking route. Where a finished end panel sits flush with the cabinet doors, measure from the outer face of that panel rather than the bare carcass. A small, deliberate projection may protect the panel edge, but it should not create an avoidable obstruction.
At a corner, draw the intended worktop outline on a simple plan and mark every finished edge. Check that a projecting corner will not catch someone passing through a narrow route or interfere with an appliance door. If two worktop lengths will meet, agree the joint position with the fitter before specifying end overhangs. Sink and hob positions may also limit where a joint can sensibly go.
Plan breakfast-bar projection and support together
A breakfast bar needs a different decision from a decorative front edge because the projection is used for knee space and may carry weight. Mock up the intended seating position with a chair or stool, then measure the space needed for knees, passage behind the seat and any cupboard doors below. Record the desired projection from the last supported cabinet or panel face. Do not treat a comfortable seating dimension as proof that the worktop can span it unsupported.
The permitted projection depends on the worktop material, thickness, joints, fixing method and support layout. Obtain the supplier's written installation requirements and ask the fitter to specify brackets, legs or panels where needed. Check where those supports will land before ordering, especially if they could obstruct knees or a pull-out unit. Keep the agreed support details with the kitchen measurements.
Confirm appliances and the final ordering size
Check the worktop outline against the installation instructions for every appliance below or beside it. An integrated dishwasher, washing machine or freestanding cooker may need room for its door, controls, hoses or ventilation. Check whether a worktop end will meet a tall housing or a freestanding fridge whose door must swing beyond the cabinet line. Manufacturer instructions take priority over a neat-looking edge alignment.
Calculate the required depth at each measured point as wall-to-carcass-front distance plus the chosen front projection. Compare the largest result with the worktop's usable supplied depth, allowing for any wall scribing and required finished edge. Repeat the check for the overall length, exposed ends and joint positions. Have the supplier or fitter confirm the cut list before you place the order.
Final verification checklist
Before ordering, compare the marked edge on site with the dimensions written on the plan. Have a second person read back the wall-to-carcass measurements, proposed projections and finished-edge locations while you point to each one. Open the fitted doors and drawers once more. This catches a mistaken measuring reference more reliably than checking the arithmetic alone.
After fitting, measure the front overhang at several places and check that doors, drawers and appliances operate freely. Inspect exposed ends for a consistent finish and confirm that any specified breakfast-bar supports were installed. Keep the final dimensions, supplier instructions and support details with the household records. They will be useful if a panel, appliance or worktop section needs replacing later.
- Confirm the measuring reference and largest wall-to-carcass distance.
- Check front and exposed-end projections in millimetres.
- Open doors, drawers and appliance doors against the marked outline.
- Confirm finished edges, joints and any breakfast-bar supports.
- Recheck the supplier-approved cut list before ordering.
Reproducible worked record
Illustrative straight-run depth check
All dimensions in this example are synthetic and illustrate the calculation, not a standard worktop specification.
- Largest finished-wall-to-carcass-front measurement
- 612 mm, illustrative
- Chosen front overhang
- 25 mm, illustrative
- Usable supplied worktop depth
- 650 mm, illustrative
612 mm + 25 mm = 637 mm required finished depth; 650 mm - 637 mm = 13 mm available for fitting and trimming.The illustrative worktop is deep enough on paper, provided the fitter confirms that the 13 mm allowance and factory-finished edges suit the actual wall and product.
Verification boundaryRemeasure at both ends and the middle, mark the 25 mm front projection, then have the fitter confirm the usable depth and cut direction before ordering.
References and field record
Check the assumptions at their source.
HSE manual-handling guidance informs the safe handling and positioning of a heavy worktop; it does not prescribe the illustrative overhang or the arithmetic above.
- UK govProvides official HSE guidance relevant to planning how a heavy worktop will be moved and positioned during fitting, not to choosing its overhang.Manual handling at work
References checked August 6, 2026. External specifications can change; verify the current document before relying on a product or regulated dimension.
Scope and limitations
This note helps householders organise measurements and understand the calculation. It does not replace an on-site decision by a designer, installer, contractor, or manufacturer. Fabrication, structure, electrical work, gas, waterproofing, and personal safety require suitably qualified verification.