How Many Decking Boards Do I Need? A Practical Method
Measure your deck in millimetres, account for board gaps and stock lengths, then calculate a checked order quantity with a sensible cutting allowance.
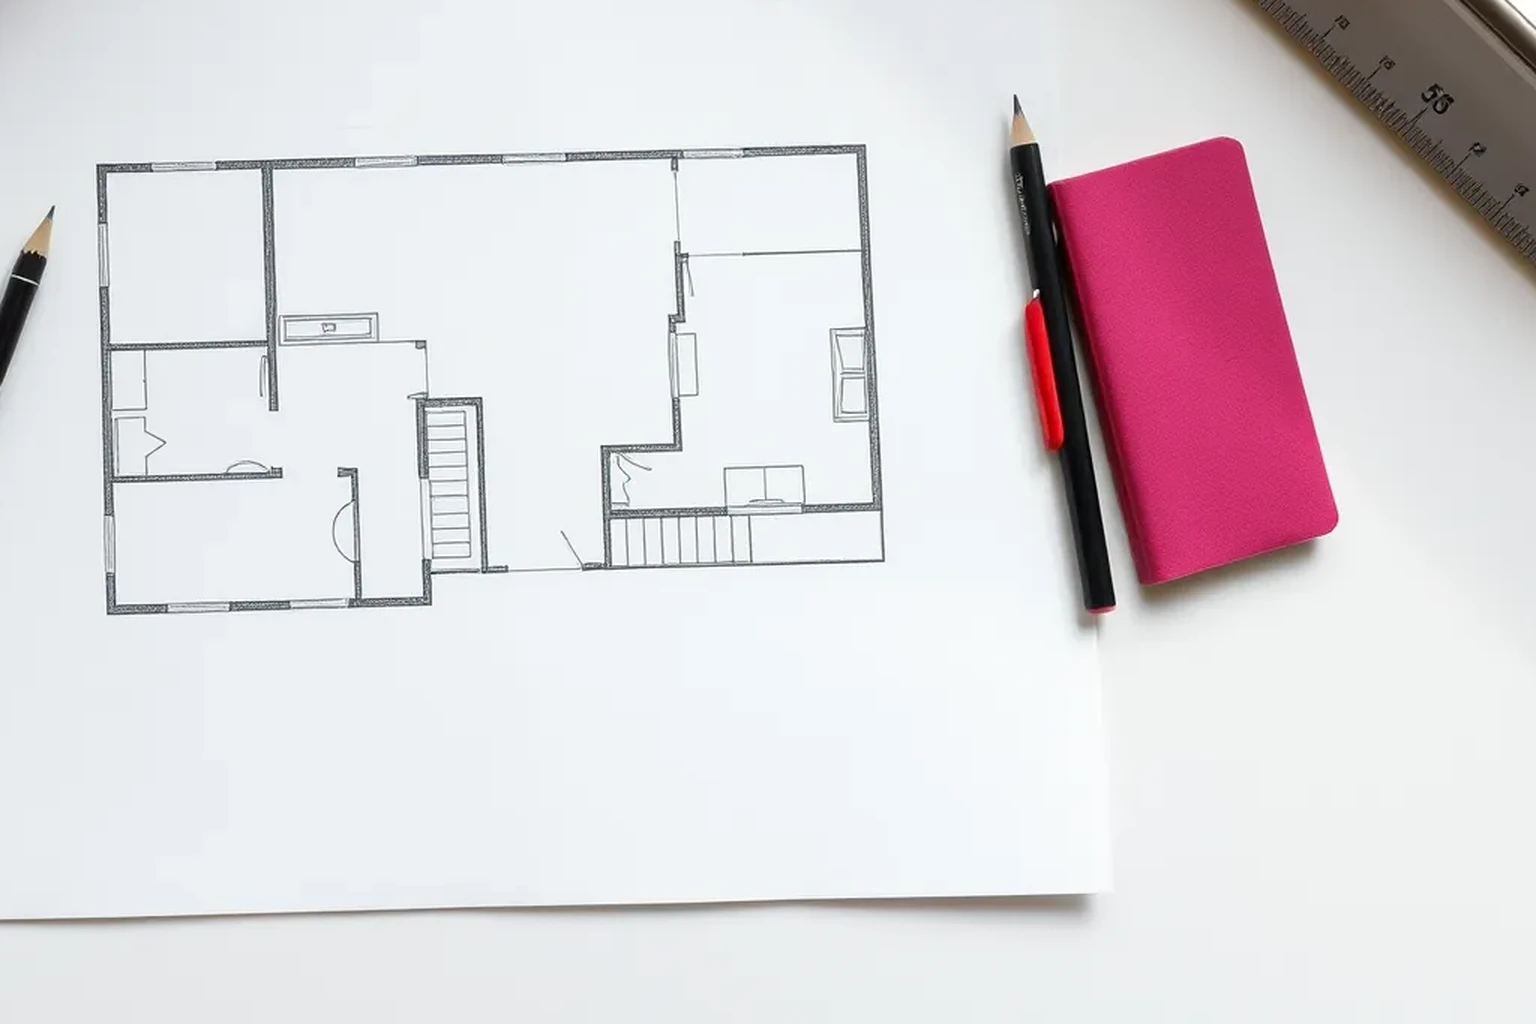
Measure the area to be boarded and decide which way the boards will run. Use the fitted board width, including its gap, to count rows; then check each row against available stock lengths and add an allowance for cuts and defects.
How many decking boards do I need? Start with a measured plan
Sketch the deck from above and mark every outside edge in millimetres. Record the direction the boards will run, because that determines both the number of rows and the length needed for each row. Measure the space that will actually receive boards, rather than the whole garden or the footprint of a larger frame. Mark steps, posts, access hatches and other interruptions on the same sketch.
For a simple rectangle, take at least two measurements in each direction and check that the corners and edges agree with your sketch. An irregular deck is easier to count as separate rectangular zones, provided you do not count an overlap twice. Keep every measurement in millimetres through the calculation; converting some figures to metres midway makes errors harder to spot. Treat the measurements as a plan to verify on site before ordering.
- Measure both ends of the proposed board rows.
- Mark posts, steps and edges that need shaped cuts.
- Separate irregular areas into clearly labelled zones.
Check the actual board and fitting details
Choose a board before calculating the final quantity. You need its usable face width, available stock lengths and the fitting gap specified for that product. Check the supplier's dimensions carefully: a nominal description may not tell you the exact width to use in your layout. For grooved boards with concealed clips, check the clip system's gap and compatible board profile together.
Also establish how the ends will be finished. A fascia or picture-frame border can change the dimensions of the main boarded field, and its boards need a separate count. Confirm the planned joist direction, support requirements and fixing instructions with the board and subframe suppliers before settling the board orientation. A quantity calculation tells you what to order; it does not establish that the supporting structure or fixings are suitable.
Count rows across the deck width
Measure the distance across the direction of the boards: this is the width that consecutive rows must cover. Add the specified gap to one board's usable width to get a repeat width. Divide the deck width by that repeat width and round up to a whole row. Because there is no gap after the last row, check the result using board widths plus one fewer gaps than boards.
For example, 120 mm boards with 5 mm gaps repeat at 125 mm. Across 3,600 mm, 3,600 ÷ 125 is 28.8, suggesting 29 rows. Twenty-nine full-width boards with 28 gaps cover 29 × 120 + 28 × 5 = 3,620 mm. The excess 20 mm would need to be allowed for at an edge; check that the finished edge detail makes this practical before buying.
Work out the lengths within each row
Next, measure along the direction each board will run. Compare that length with the stock lengths your supplier can actually provide, allowing for any required end trimming and edge detail. If one stock board can span a row, the initial piece count is one board per row. A 2,400 mm run cut from a 3,000 mm stock board leaves a 600 mm offcut before any trimming allowance.
Longer runs may need more than one piece per row, but do not assume every offcut will fit somewhere else. Mark proposed joints on the drawing and check that the subframe can support them in accordance with the product instructions. For stepped or irregular areas, list each row's required length separately rather than multiplying every row by the longest distance. Count border boards, steps and fascia pieces on their own cutting list.
Allow for cuts, defects and usable offcuts
Start the order estimate with the whole stock boards needed for your cutting list, not simply the deck area divided by the area of a board. Area can provide a rough sense check, but it does not show whether available lengths can be cut into the pieces you need. Label offcuts by length and only reuse one where the planned piece, end treatment and fixing position permit it. Keep a record of which stock board supplies each piece.
Then add a project-specific allowance for trimming, damaged boards and awkward shapes, and round the final order up to whole boards. An illustrative 10% allowance is useful for showing the arithmetic, but it is not a universal requirement or a substitute for a cutting plan. Complex edges, short stock lengths or boards with visible grain matching may justify more; a simple rectangular deck may need less. Ask the supplier about returns before relying on spare boards being refundable.
Check the order against the site and supplier
Compare your cutting list with the supplier's listed lengths, width, profile, finish and pack quantity. If boards are sold only in packs, round up to a whole pack after calculating the board count. Confirm the matching clips or screws, starter and finishing fixings, and any border or fascia materials separately. The board count alone will not tell you how many fittings to buy.
Before placing the order, remeasure the built frame if it already exists and compare it with the proposed drawing. Check delivery access and a dry, supported place to store the boards in line with the manufacturer's instructions. If your project may need planning permission, check the position for your property and location using current official guidance or your local planning authority. Do not assume that a materials estimate confirms permission or compliance.
Final verification checklist
Read the calculation from the drawing back to the order: measured width, actual board width, specified gap, whole rows, required row lengths and available stock lengths. Recalculate the total coverage as whole board widths plus the gaps between them. Check that any narrow edge board can be cut and fixed as intended, and that planned joints have suitable support. Resolve discrepancies on the drawing before ordering.
Finally, match each item in the basket to the cutting list, including borders and any separate step pieces. Confirm that your allowance was applied after counting the stock boards needed for cuts, and that the final number was rounded up. Recheck dimensions and fitting guidance against the product you will receive, especially if a supplier substitutes a different profile or length. Keep the dated sketch and order details for later repairs or additions.
- Dimensions and board direction match the site sketch.
- Board width, gap and stock lengths match the chosen product.
- Rows, joints, edge cuts and reusable offcuts are checked.
- Allowance, pack rounding and separate fittings are included.
Reproducible worked record
Illustrative rectangular deck: 3,600 mm by 2,400 mm
All dimensions, product sizes, gaps and allowances in this example are synthetic and illustrative, not a specification for a particular decking product.
- Width across board rows
- 3,600 mm, illustrative
- Length of each row
- 2,400 mm, illustrative
- Usable board width and fitting gap
- 120 mm and 5 mm, illustrative
- Available stock length
- 3,000 mm, illustrative
- Extra cutting and defect allowance
- 10%, illustrative
Repeat width = 120 + 5 = 125 mm. Rows = round up(3,600 ÷ 125) = 29. Coverage with 29 full-width boards = (29 × 120) + (28 × 5) = 3,620 mm, so an edge cut must account for 20 mm. Each 2,400 mm row takes one illustrative 3,000 mm stock board: 29 stock boards. With an illustrative 10% allowance, round up(29 × 1.10) = 32 stock boards.The illustrative starting order is 32 boards of the stated stock length, subject to checking the edge cut, product instructions and supplier pack sizes.
Verification boundaryRemeasure the boarded width and row length, confirm the chosen board's actual width and required gap, then recalculate 29 board widths plus 28 gaps and check the cutting list against available lengths.
References and field record
Check the assumptions at their source.
NIST's official SI guidance supports keeping the length measurements in consistent metric units; the illustrative decking arithmetic is explained here and is not attributed to NIST.
- NISTSupports the use of consistent SI length units when recording dimensions and checking calculations.SI Units
- UK govProvides official guidance to consult when checking whether a proposed household project falls within permitted development rights; it does not determine the board quantity.Permitted development rights for householders: technical guidance
References checked August 6, 2026. External specifications can change; verify the current document before relying on a product or regulated dimension.
Scope and limitations
This note helps householders organise measurements and understand the calculation. It does not replace an on-site decision by a designer, installer, contractor, or manufacturer. Fabrication, structure, electrical work, gas, waterproofing, and personal safety require suitably qualified verification.