Floor space calculator: measure a room in square metres
Measure an irregular room, calculate its floor area in square metres, and check how much space remains for furniture.
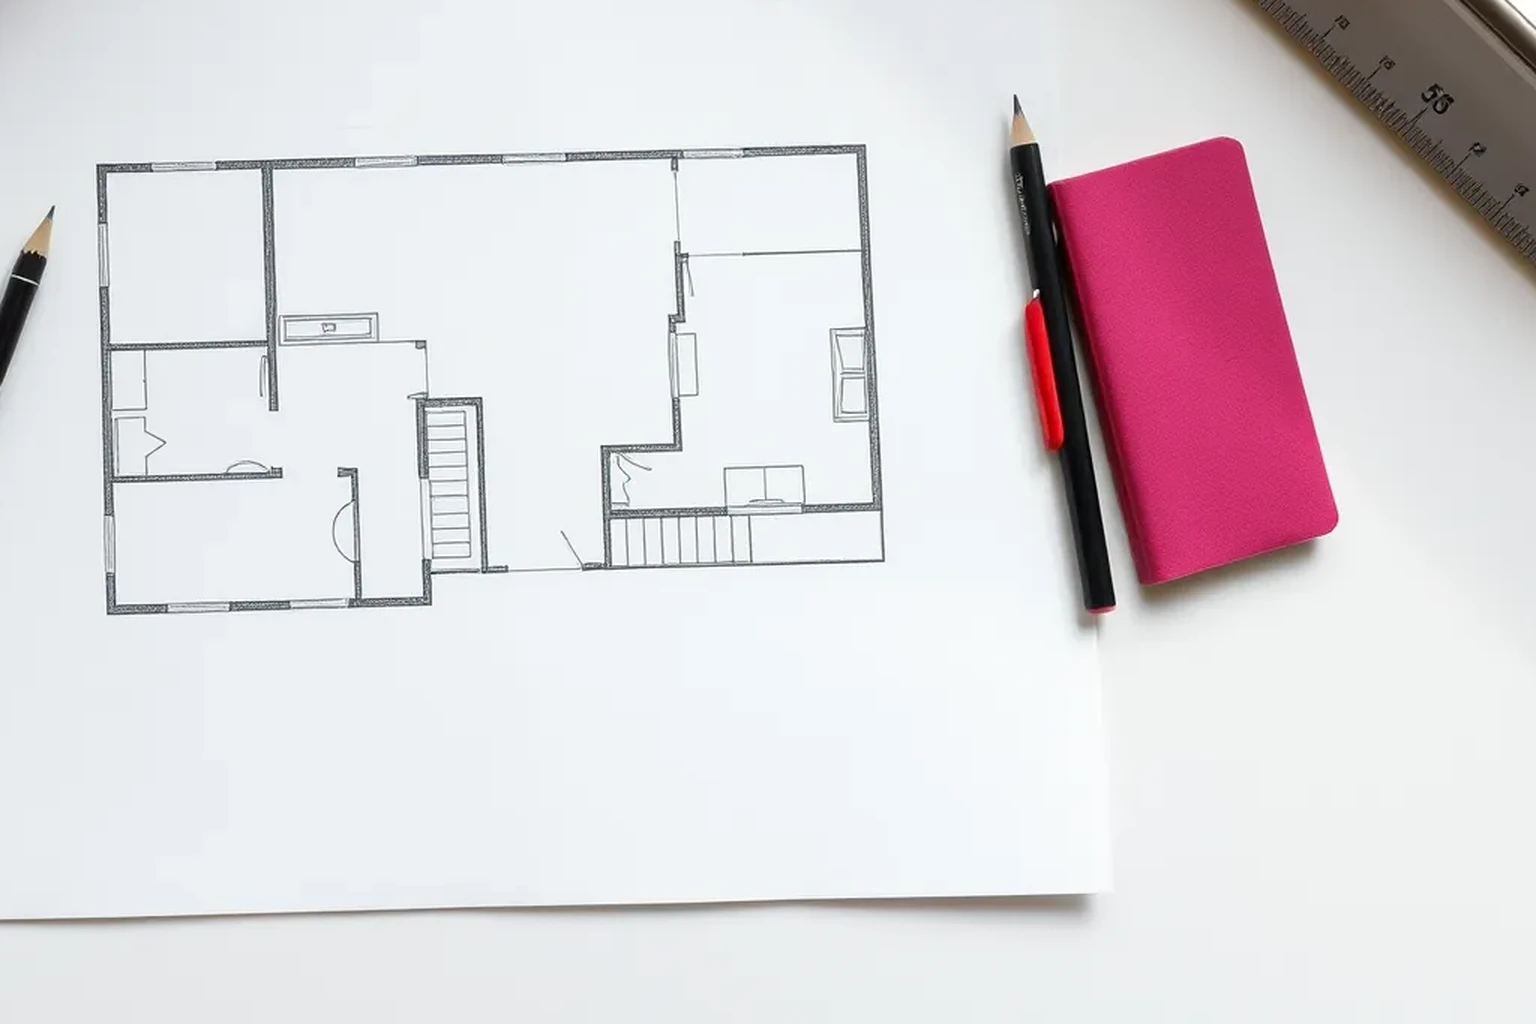
Measure each straight section of the room in millimetres, divide an irregular outline into rectangles, and add their areas in square metres. Keep the room's measured area separate from the clear space available after fixed obstructions and furniture are considered.
What a floor space calculator should measure
Start by deciding which area you need. A room-area calculation helps you compare furniture layouts or estimate floor covering, while clear floor space tells you where furniture can actually stand. These are different figures, so write down the purpose beside your measurements. A room can have a generous measured area but little practical space beside a door or fitted cupboard.
For a straightforward room, measure the internal floor dimensions between the finished faces of opposite walls. If the outline changes because of a recess or projecting chimney breast, record those shapes separately. Use square metres (m²) for the final area, even if you take dimensions in millimetres (mm). Keep your sketch and calculations so another person can repeat the check.
Prepare a sketch and take consistent measurements
Draw a simple overhead outline showing each wall, recess and projection; it does not need to be to scale. Mark the positions of doors, windows, radiators and fixed cupboards. Take a tape measure or laser measure, a pencil and a second person if long spans are difficult to hold level. Record every dimension in mm to avoid mixing units partway through the calculation.
Measure along the floor or as close to it as practical, from finished wall surface to finished wall surface. In an older UK home, opposite walls may not be parallel, so check a long room near both ends and note any difference. Repeat measurements that seem inconsistent with your sketch rather than averaging them without explanation. Photograph the room and sketch if you will use the figures later for ordering or installation.
- Label every measured edge on the sketch.
- Measure recess depth as well as width.
- Check long dimensions at more than one point.
- Record which surfaces your measurements start and end at.
Divide the outline into rectangles
Treat a rectangular room as one length multiplied by one width. For an L-shaped room, draw a line across the change in outline to make two non-overlapping rectangles. Calculate each rectangle separately and add the results. Another valid approach is to calculate a complete outer rectangle and subtract a missing corner, provided that corner is not counted elsewhere.
Use the same approach for a recess extending beyond the main wall line: calculate its area and add it once. A chimney breast projecting into a rectangle can be measured and subtracted when you need clear floor area. Mark added and subtracted shapes on the sketch so their treatment is visible. If a wall is markedly angled, a set of rectangular approximations may be too rough for a close-fitting purchase; ask the supplier or installer how they want it measured.
Convert millimetres and check the arithmetic
Multiply each rectangle's length in mm by its width in mm, then divide by 1,000,000 to get m². For example, 4,000 mm by 3,000 mm gives 12,000,000 square millimetres, or 12 m². Alternatively, divide each dimension by 1,000 first and multiply the resulting metre values. Choose one method for the whole sketch so conversions are easy to audit.
Write out the calculation for every added or subtracted shape, including its units. A result that seems surprisingly large often means a dimension was entered in centimetres or metres while the others were in mm. Recalculate the total from the sketch without looking at the first answer, then compare the two. Keep more precision during the calculation and round only the final figure to a level suitable for your purpose.
Separate measured area from usable floor space
The measured room outline is a useful starting figure, but it does not describe every placement constraint. A fitted cupboard, hearth or chimney breast may occupy part of the area where an item could stand. Measure its footprint and subtract it only when calculating clear floor space; keep the original room-area figure alongside it. Do not silently switch between these figures when comparing plans or quotes.
Some constraints are better shown on the drawing than deducted from an area total. Mark door swings, radiator positions, window access and the space needed to pull out chairs or open drawers. Check the actual footprint and operating space of items such as a standard-depth kitchen unit or washing machine against the manufacturer's dimensions, rather than assuming all models match. A square-metre total cannot confirm that a particular item will pass through a doorway or fit along a wall.
Use the result for orders and layout decisions
For furniture planning, place the proposed item's width and depth on the same sketch and check its position against each nearby wall. Measure the narrowest doorway and any tight turn on its delivery route separately. Include skirting boards, sockets and other details where they affect a close fit. Confirm the manufacturer's assembled and packaged dimensions before committing to a large purchase.
For flooring, share the measured outline, recesses and obstructions with the retailer or fitter. The material quantity to order may exceed the geometric room area because of cuts, pattern matching or the product's pack sizes. Ask the supplier to calculate that allowance for the chosen material rather than applying a universal percentage. Retain the unrounded dimensions and the dated sketch if you need to query a quote.
Verification checklist
Before relying on the result, walk around the room with the sketch and match every change in wall line to a labelled dimension. Check that all measurements use mm and that each rectangle has both a length and a width. Confirm that added recesses and subtracted projections appear only once. Rework the total using either the individual rectangles or an outer rectangle with deductions.
Finally, write the measured area and any clear floor area as separate, named results in m². Compare the figures with the room's actual shape and investigate anything that looks implausible. For an order or close-fitting installation, give the supplier the sketch rather than only a single area figure. Re-measure after building work or changes to fitted units, as an earlier calculation may no longer describe the finished room.
- Every change in the room outline is shown on the sketch.
- All lengths are labelled in mm.
- The arithmetic and conversion to m² have been checked.
- Measured area and clear floor area are labelled separately.
Reproducible worked record
Illustrative room with a recess and chimney breast
All dimensions and results in this worked example are illustrative, synthetic figures, not measurements of a real property.
- Main rectangle
- 4,200 mm × 3,600 mm
- Recess extending beyond the main rectangle
- 900 mm × 600 mm
- Chimney breast within the main rectangle
- 600 mm × 300 mm
Main area: (4,200 × 3,600) ÷ 1,000,000 = 15.12 m². Recess: (900 × 600) ÷ 1,000,000 = 0.54 m². Measured outline: 15.12 + 0.54 = 15.66 m². Chimney breast: (600 × 300) ÷ 1,000,000 = 0.18 m². Clear floor area excluding that footprint: 15.66 − 0.18 = 15.48 m².The synthetic example confirms a measured outline of 15.66 m² and a separate clear floor figure of 15.48 m² after excluding the illustrative chimney-breast footprint.
Verification boundaryRe-measure the three shapes, check on the sketch that the recess does not overlap the main rectangle, and repeat each multiplication and conversion independently.
References and field record
Check the assumptions at their source.
The UK government's nationally described space standard provides a formal floor-area context; this worked room-layout calculation is not a claim to measure a dwelling under that standard.
- UK govProvides the official context for formal dwelling floor-area terminology, which should not be confused with an informal clear-floor layout calculation.Technical housing standards: nationally described space standard
References checked August 6, 2026. External specifications can change; verify the current document before relying on a product or regulated dimension.
Scope and limitations
This note helps householders organise measurements and understand the calculation. It does not replace an on-site decision by a designer, installer, contractor, or manufacturer. Fabrication, structure, electrical work, gas, waterproofing, and personal safety require suitably qualified verification.