How to figure out square footage of a room
Learn how to figure out square footage of a room using millimetre measurements, a simple area calculation and checks for awkward shapes.
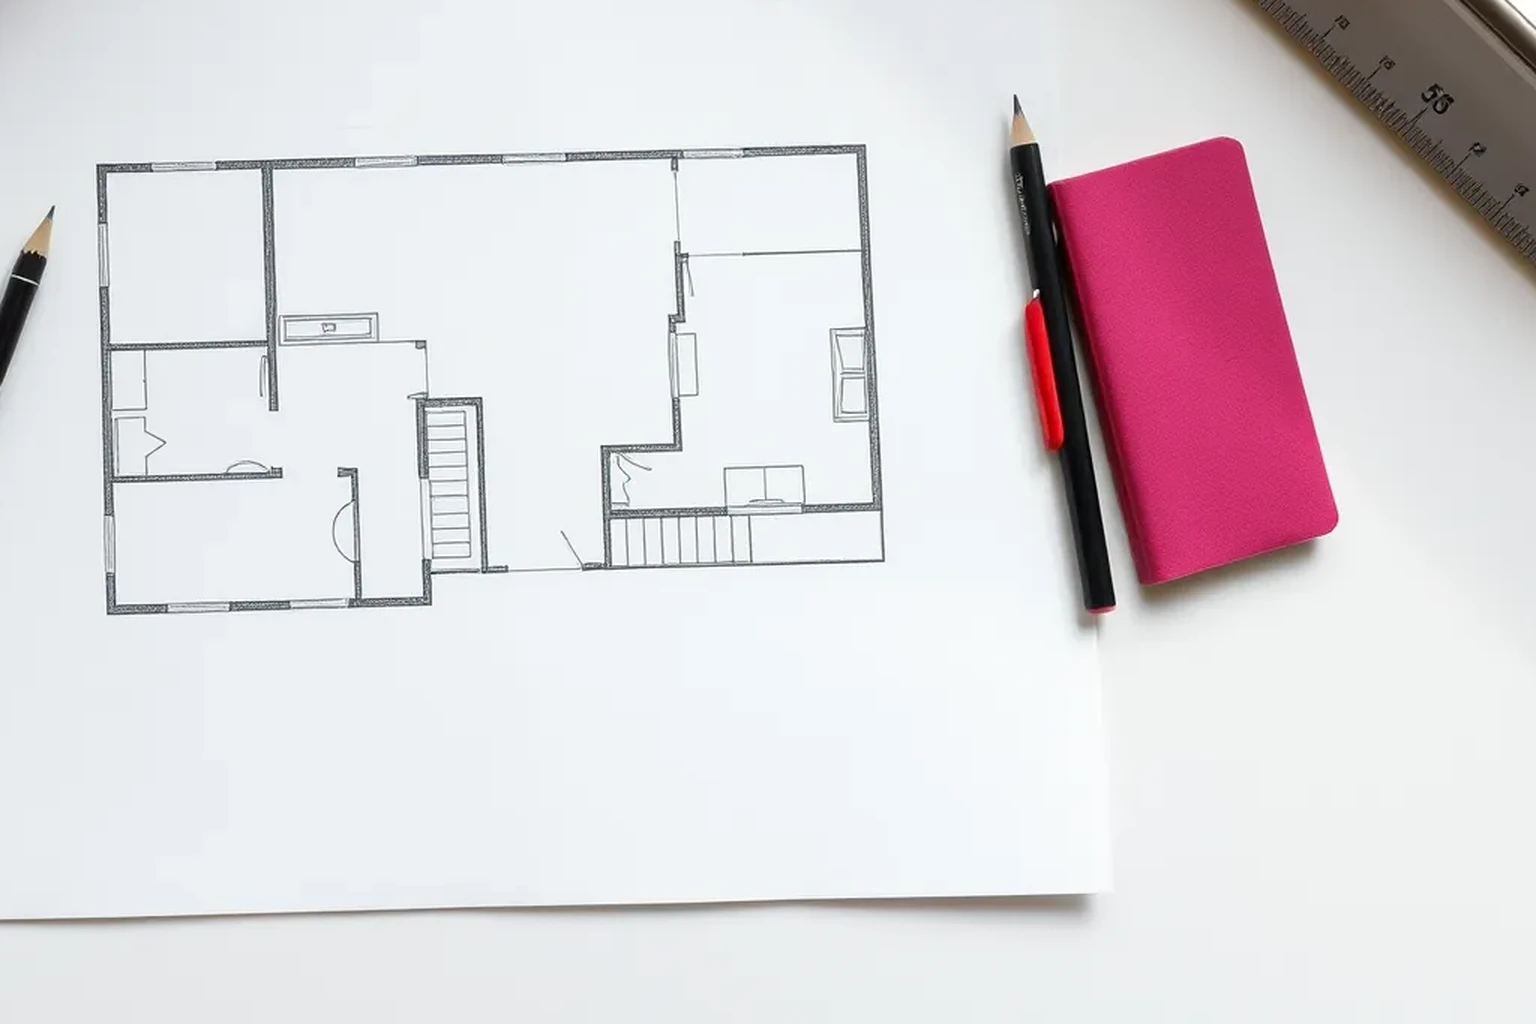
Measure the usable floor outline in millimetres, divide irregular rooms into simple rectangles, and calculate each area in square metres. Add the areas, convert the total to square feet, and check both your measurements and arithmetic before ordering materials.
How to figure out square footage of a room
Start by deciding which floor area you need. For a flooring estimate, measure the area that the new flooring will cover; for a furniture plan, record the room outline and the space occupied by fixed fittings. A room's square footage is its floor area in square feet, not the sum of its wall areas. Keep your original measurements in millimetres so they remain useful for UK flooring specifications and furniture dimensions.
For a rectangular room, measure its length and width at floor level, convert both to metres, and multiply them. Then multiply the square-metre result by approximately 10.7639 to obtain square feet. For an irregular outline, split the floor into rectangles, calculate each one, and add the results before converting. Write down the dimensions and arithmetic so another person can repeat the calculation.
Set the boundary before measuring
Sketch the room from above and mark walls, door openings, recesses and fixed features. Decide whether an alcove or cupboard is part of the area you need to cover, then apply that decision consistently. A doorway may add a small section of floor between rooms, so note where your measurement starts and ends. This avoids getting different totals simply because two people used different boundaries.
Measure along the floor where practical, rather than across skirting boards or high up a wall. Skirting, uneven walls and a tape held at an angle can change a reading, especially across a narrow recess. Label every measurement on the sketch immediately and use the same unit throughout. If an obstruction prevents a direct reading, measure the accessible sections and record how you combined them.
Measure and check each dimension
Use a tape measure long enough for the span, or a laser measure suitable for indoor distances. Record each length and width in millimetres, such as 4,200 mm rather than an unlabelled 4.2. Measure a rectangular room at two places along each direction if walls do not appear parallel. Note both readings instead of silently choosing the one that produces a tidier area.
For planning, a small difference between opposite sides may be handled with an average, provided you record the readings and the purpose of the estimate. For a fitted item or a precise flooring layout, preserve the individual dimensions and check the narrowest usable clearance. Measure kitchen cabinets, chimney breasts and other fixed fittings separately if they affect the job. Room area alone will not tell you whether a sofa fits through the door or whether a board can be laid in one piece.
Calculate the area in square metres first
Divide a millimetre measurement by 1,000 to express it in metres. A length of 4,200 mm is 4.2 m, and a width of 3,600 mm is 3.6 m. Multiply those metre values to obtain square metres: 4.2 × 3.6 = 15.12 m². Converting the lengths before multiplying helps prevent a result in square millimetres being mistaken for square metres.
To convert the finished area to square feet, multiply the square-metre total by approximately 10.7639. The illustrative 15.12 m² room is therefore about 162.75 sq ft. Round the displayed answer to a precision that matches your measurements, but keep the unrounded value for later calculations. Check that the unit beside each figure changes appropriately from mm to m to m² to sq ft.
Handle alcoves and irregular outlines
Divide an L-shaped room into two non-overlapping rectangles and label their dimensions on the sketch. Calculate each rectangle in square metres, then add the two areas. If you instead measure a large enclosing rectangle, subtract the area of the missing corner. Use one approach throughout so you do not count an alcove twice or forget a section behind a doorway.
Treat a bay or angled wall as a separate shape if a simple rectangle would materially overstate its floor area. For an estimate, several smaller rectangles may be easier to measure and audit than one complicated formula. Show where each shape begins and ends, particularly around chimney breasts or built-in cupboards. If a supplier will survey the room before installation, keep your sketch and treat your total as a planning figure until their measurements are confirmed.
Use the total for the right decision
A measured floor area describes the space; it is not automatically the quantity of material to buy. Flooring can need extra material for cuts, pattern matching or fitting around fixed features, and the amount depends on the product and layout. Check the supplier's pack coverage and fitting guidance before turning an area into an order quantity. Retain the square-metre total because UK flooring products commonly state coverage in m².
For furniture planning, use the sketch alongside the area rather than relying on one number. Mark door swings, radiators, sockets and the positions of fixed kitchen units, then compare them with the item's actual dimensions. Check delivery access separately, including the route through doors, stairs and turns. A room can have enough floor area for an item while still lacking a workable position or a viable route into the home.
Verification checklist
Re-measure the longest span and at least one short or awkward section before relying on the total. Compare your sketch with the room to catch a missed recess, cupboard threshold or projecting wall. Recalculate one rectangle independently and confirm that all component areas use square metres before they are added. A result that seems unexpectedly large or small is a reason to revisit both the boundary and the units.
Keep the dated sketch, raw millimetre readings, component calculations and final conversion together. Give a supplier the measurements and the intended boundary, not just the rounded square-foot figure. For purchases or fitted work, confirm which areas the supplier includes and whether they will take their own measurements. That record makes later checks and changes much easier.
- Boundary and included alcoves are marked on the sketch.
- All raw lengths are labelled in millimetres.
- Each rectangle is counted once, with its area in m².
- The total is converted to sq ft only after areas are added.
- Material allowance and delivery access are checked separately.
Reproducible worked record
Illustrative rectangular living room
All room dimensions and results in this worked example are synthetic and provided only to demonstrate the method.
- Illustrative length
- 4,200 mm = 4.2 m
- Illustrative width
- 3,600 mm = 3.6 m
- Area conversion
- 1 m² ≈ 10.7639 sq ft
4.2 m × 3.6 m = 15.12 m²; 15.12 × 10.7639 ≈ 162.75 sq ft.The illustrative floor area is 15.12 m², or approximately 162.75 sq ft.
Verification boundaryRe-measure both sides in millimetres, divide each by 1,000, repeat the multiplication, and check that the square-foot result is about 10.76 times the square-metre result.
References and field record
Check the assumptions at their source.
NIST's SI length guidance provides an authoritative reference for the metre used in the measurement and area calculation.
- NISTIdentifies the metre as the SI unit of length used before calculating area in square metres.SI Units – Length
References checked August 6, 2026. External specifications can change; verify the current document before relying on a product or regulated dimension.
Scope and limitations
This note helps householders organise measurements and understand the calculation. It does not replace an on-site decision by a designer, installer, contractor, or manufacturer. Fabrication, structure, electrical work, gas, waterproofing, and personal safety require suitably qualified verification.