Calculating tiles for walls: a UK measuring method
A practical method for calculating tiles for walls, allowing for openings, cuts, spare tiles and the pack sizes sold by UK suppliers.
Measure each tiled wall section in millimetres, calculate its area in square metres and subtract openings that will not be tiled. Divide the resulting area by the tile's coverage, allow for cuts and spares, then round up to whole supplier packs.
Calculating tiles for walls: start with the tiled boundary
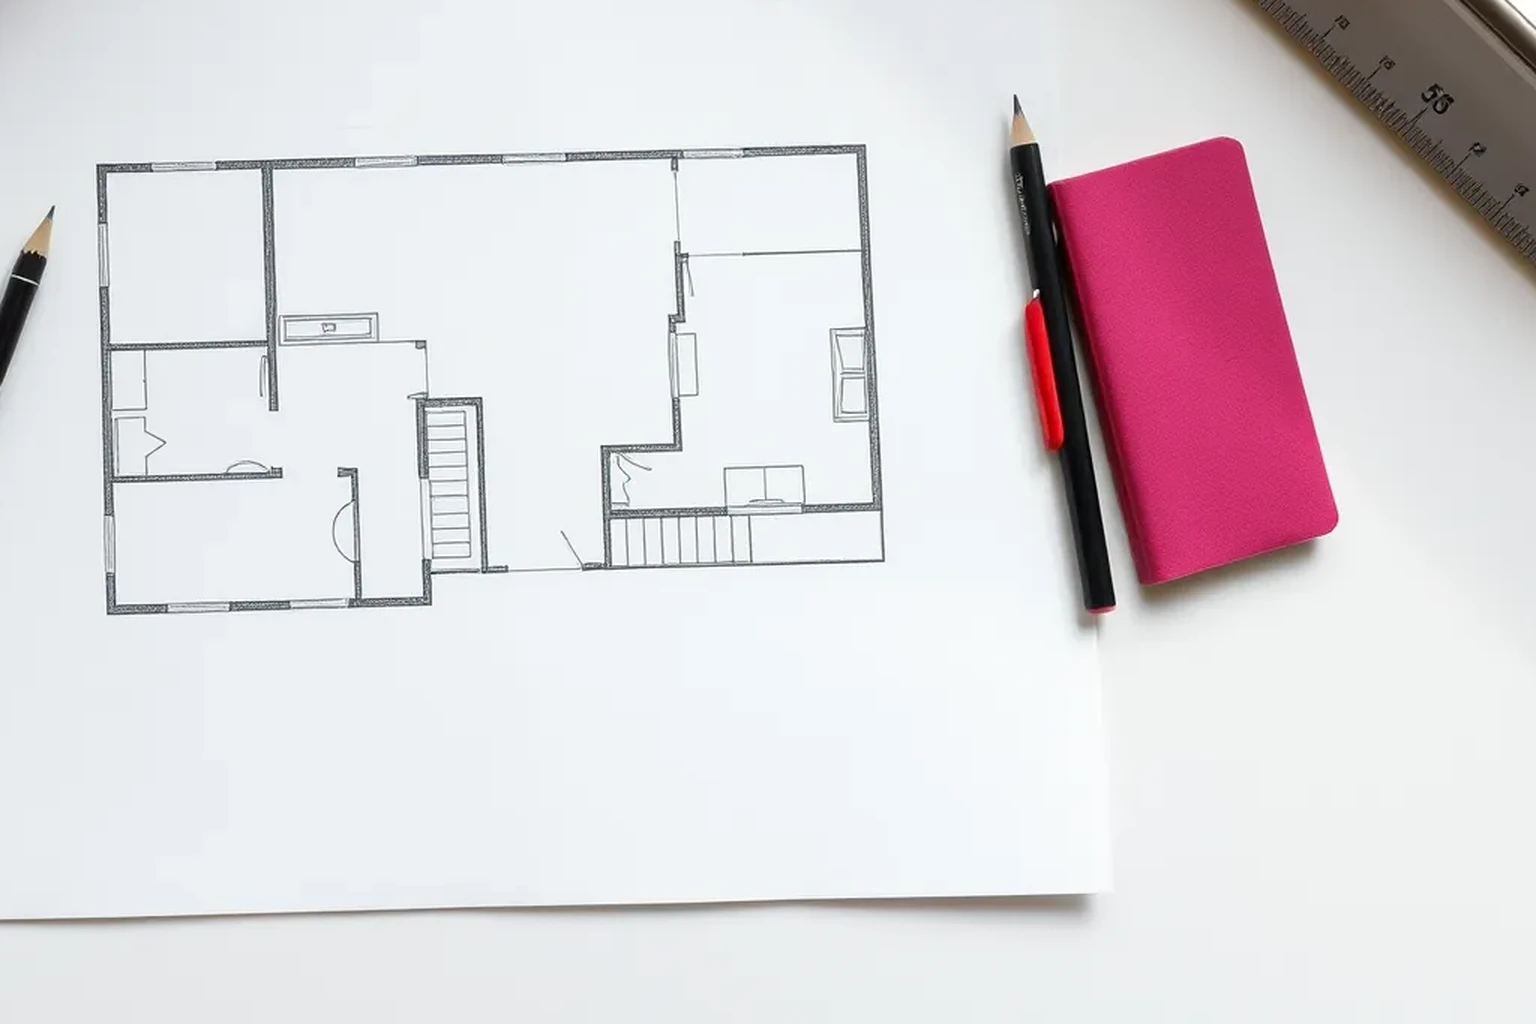
Decide exactly where the tiles will start and stop before measuring. A bathroom wall may be tiled to the ceiling, only to a chosen height, or just around a bath or basin. Treat each different height or width as a separate rectangular section. Mark the proposed edges on a sketch so that you calculate the surface you intend to cover, not the entire room.
Measure each section's width and height in millimetres with a tape measure. Take measurements at more than one point if the floor, ceiling or corners appear uneven, and record the dimensions relevant to the finished tiled boundary. Label every section on the sketch, including short returns beside a shower tray or behind a basin. Keep the original measurements until you have checked the order.
- Sketch and label each wall or part-wall.
- Record widths and heights in mm.
- Mark changes in tile height and narrow returns.
Convert measurements into square metres
For each rectangular section, multiply width by height. If both measurements are in millimetres, divide the result by 1,000,000 to obtain square metres. For example, a section 1,800 mm wide and 2,400 mm high is 4,320,000 square millimetres, or 4.32 square metres. Add the areas of separate sections only after calculating each one.
Check that every figure uses the same unit before multiplying. Mixing a width in metres with a height in millimetres produces an incorrect total that can still look plausible on a shopping list. Write the dimensions beside each area calculation so you can find a transcription error later. If a section has a stepped outline, split it into rectangles instead of estimating its average size.
Subtract openings that will remain untiled
Measure doors, windows and other openings within the proposed tiled boundary. Calculate each opening's area using the same method, then subtract only the portion that overlaps the tiled section. A doorway that continues above a half-height splashback, for example, should not be deducted at its full height. Record which opening belongs to which wall to avoid subtracting it twice.
Think through the edges before treating an opening as a simple deduction. A window reveal or boxed-in pipe section may have small side or top faces that you plan to tile, even though the main opening is untiled. Measure those faces as additional sections and add their areas back. Do not deduct sockets, switches or small pipe penetrations automatically: tiles usually need cutting around them rather than being omitted across their full outline.
Check tile dimensions and the proposed layout
Use the dimensions of the tile you actually intend to buy, rather than a similar size seen elsewhere. A nominal 300 mm by 600 mm tile covers 0.18 square metres before allowing for joints, cuts or damaged pieces. Dividing the net wall area by 0.18 gives a theoretical tile count, not a reliable final order. The retailer's stated coverage per box is the more useful figure when you reach the purchasing step.
Sketch a row across each wall to see where full tiles and cut tiles will fall. Check corners, the top edge, bath or shower tray edges, and the space around common UK bathroom fittings such as a basin or towel radiator. Tile orientation and grout-joint width affect where cuts land, so confirm both before ordering. If narrow strips appear at a prominent edge, adjust the starting position and check the layout again.
Allow for cuts, breakages and future repairs
Add a sensible allowance to the net tiled area before converting it into packs. Ten per cent is a useful illustrative starting point for a straightforward layout, not a fixed requirement or a guarantee that every cut will work. Complicated corners, a diagonal pattern or numerous penetrations may need more. Review the layout sketch and count awkward cuts rather than applying a percentage without checking the wall.
Consider whether you want matching spare tiles for a later repair. A future purchase may not have the same shade or production batch as the tiles supplied now, so ask the supplier about batch information and availability. Keep any spares flat and protected, with the product and batch details among your household records. Separate this reserve from the tiles needed to finish the installation.
Convert the allowance into whole packs
Multiply the net tiled area by your chosen allowance factor; a ten per cent allowance means multiplying by 1.10. Divide that adjusted area by the coverage printed for one box, then round up to a whole box if the supplier sells only complete boxes. As a cross-check, multiply the number of boxes by their stated coverage. The result should be at least the adjusted area you intended to order.
Check the product listing or packaging for tiles per box, coverage per box and whether decorative pieces or trims are sold separately. Confirm that all boxes in the order match the selected tile, finish and size. Grout joints do not justify reducing the order below the coverage and layout checks. Keep a note of the arithmetic so you can amend it if the tiled height or tile choice changes.
Verification checklist before ordering
Compare the sketch with the room one last time, checking every tiled section, return and opening. Confirm that dimensions are in millimetres and areas are in square metres, then repeat the additions and deductions with a calculator. Check that the intended tile orientation works around the largest opening and the most visible edge. Correct the sketch and recalculate if a fitting or tiled height has moved.
Finally, check your adjusted area against the supplier's coverage per box and the number of whole boxes in your basket. Confirm whether the order includes enough tiles for the cuts and any spares you chose to keep. Save the measurements, tile details and calculation with your purchase record. Those notes make it easier to explain a quantity to an installer or check a later replacement order.
- All tiled sections and reveals are included once.
- Only genuinely untiled opening areas are deducted.
- Layout, cuts and spare allowance have been checked.
- Whole-box coverage meets or exceeds the adjusted area.
Reproducible worked record
Illustrative bathroom wall with a doorway
All dimensions, tile details, pack sizes and the allowance in this example are synthetic and illustrative, not a survey or supplier specification.
- Wall
- 1,800 mm wide × 2,400 mm high
- Untiled doorway within the wall
- 800 mm wide × 2,000 mm high
- Tile
- 300 mm × 600 mm; illustrative coverage 0.18 m² per tile
- Allowance
- Illustrative 10% for cuts and spares
- Box
- Illustrative 6 tiles, covering 1.08 m²
Wall: (1,800 × 2,400) ÷ 1,000,000 = 4.32 m². Doorway: (800 × 2,000) ÷ 1,000,000 = 1.60 m². Net: 4.32 − 1.60 = 2.72 m². With illustrative allowance: 2.72 × 1.10 = 2.992 m². Boxes: 2.992 ÷ 1.08 = 2.77, rounded up to 3 boxes. Coverage check: 3 × 1.08 = 3.24 m².Three illustrative boxes provide 3.24 m² of stated coverage, exceeding the adjusted area of 2.992 m²; the wall layout still needs checking for usable cuts.
Verification boundaryRe-measure the wall and doorway, confirm that the doorway lies within the tiled boundary, then replace the illustrative tile and box figures with those on the chosen product listing.
References and field record
Check the assumptions at their source.
NIST's SI unit references support the metric length and area conversions used here; they do not prescribe a tile-waste allowance.
- NISTSupports using consistent metric units when recording and converting dimensions.SI Units – Length
- NISTSupports expressing the calculated wall and opening areas in square metres.SI Units – Area
References checked August 6, 2026. External specifications can change; verify the current document before relying on a product or regulated dimension.
Scope and limitations
This note helps householders organise measurements and understand the calculation. It does not replace an on-site decision by a designer, installer, contractor, or manufacturer. Fabrication, structure, electrical work, gas, waterproofing, and personal safety require suitably qualified verification.