Calculating Square Feet of a Room in a UK Home
A practical UK guide to measuring a room in millimetres, calculating its floor area in square feet and checking the result before ordering materials.
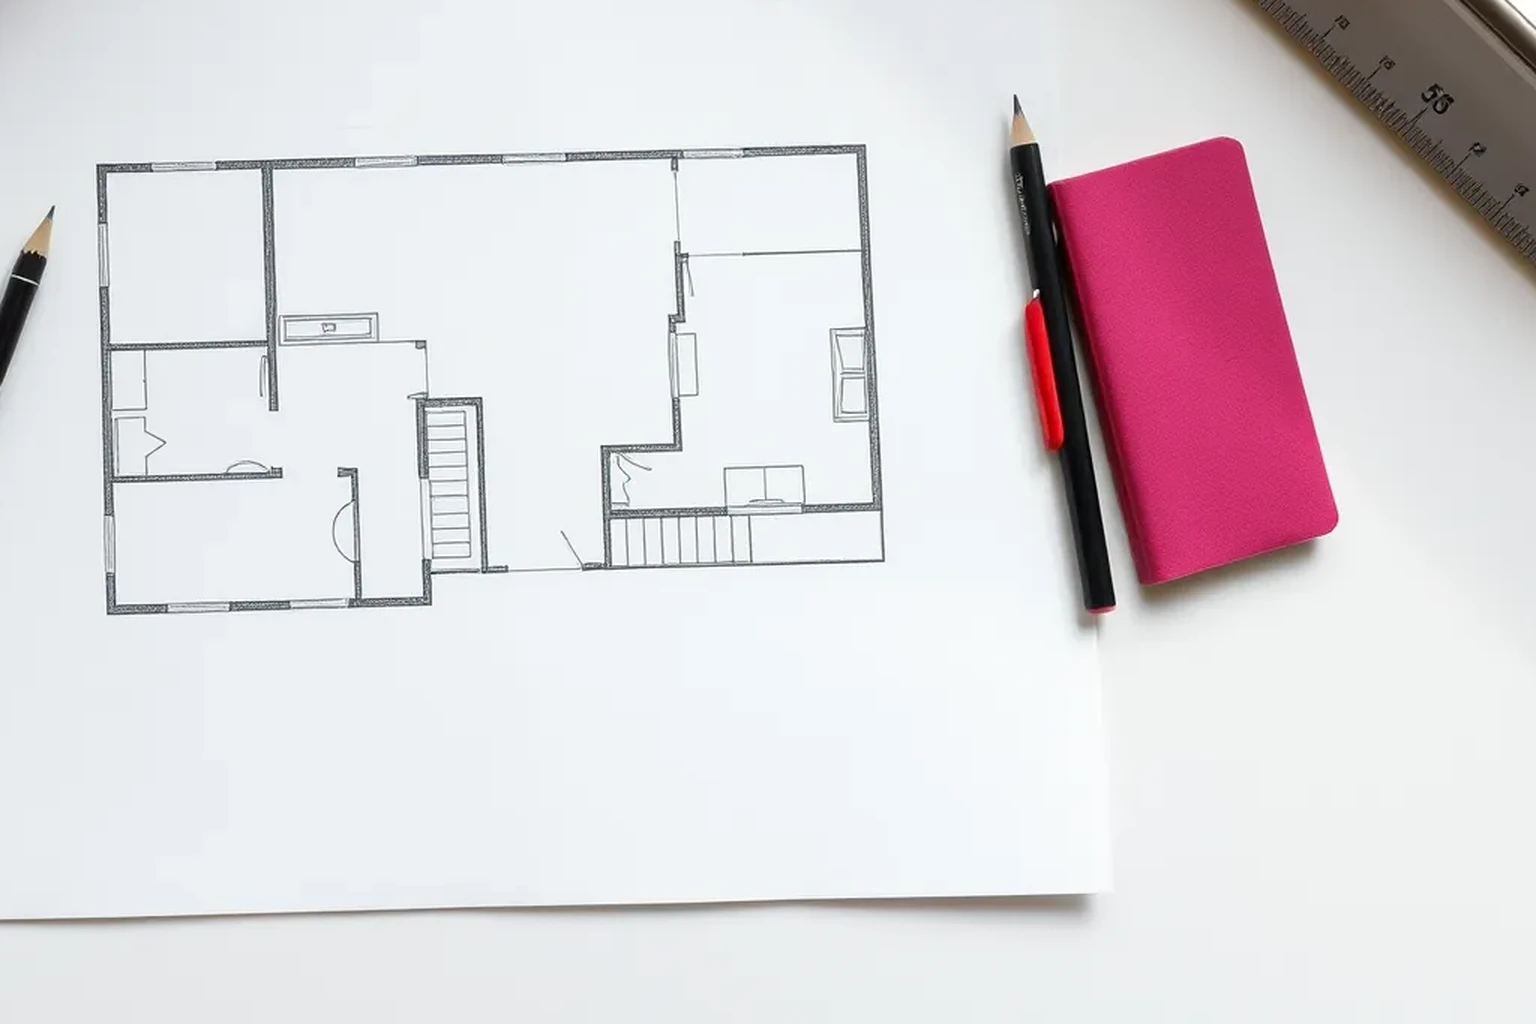
Sketch the usable floor outline, measure each straight section in millimetres and calculate its area in square metres. Add or subtract simple shapes as needed, then convert the final area to square feet and check it against your measurements.
Calculating square feet of a room: start with a sketch
Draw a rough plan of the floor before taking measurements. Mark the main walls, alcoves, chimney breasts and any part of the floor that changes the outline. The sketch does not need to be to scale, but every dimension should have a clear place on it. This makes it easier to spot a missing measurement before you start calculating.
Decide what the figure is for, because different jobs can need different boundaries. A room-area estimate usually follows the visible floor outline, while a flooring order must account for the product's fitting instructions and any required cutting allowance. A furniture plan also needs doorway widths and clearances, which are separate from floor area. Label the sketch with its purpose so the final number is not mistaken for an order quantity.
- Mark each straight wall section that defines the floor outline.
- Show recesses and projections separately.
- Label the sketch as room area, flooring plan or furniture plan.
Measure each dimension in millimetres
Use a tape measure or laser distance meter to measure along the floor where practical. Record every length in millimetres, such as 4,200 mm, rather than switching between metres, feet and inches while you work. Measure from the same kind of boundary at each end, such as finished wall surface to finished wall surface. If skirting boards prevent this, note where the tape started and ended so another person can repeat the measurement.
Take the main length and width, then measure each alcove or projection shown on your sketch. In an older room, opposite walls may not be parallel, so check a second width at another point. Write both readings down instead of silently choosing one. Re-measure any dimension that looks inconsistent with the sketch, and keep the original readings until the calculation is complete.
- Write the unit beside every dimension.
- Repeat an unusually long or awkward measurement.
- Check widths at more than one point if the room is uneven.
Calculate the area of a rectangular room
For a rectangle, multiply length by width. Convert millimetres to metres first by dividing each measurement by 1,000: 4,200 mm becomes 4.2 m. A room measuring 4.2 m by 3.6 m has an area of 15.12 square metres. Keep the unrounded result for the next step, even if you plan to present the answer more simply.
To express that area in square feet, divide the square-metre figure by 0.09290304. That number is the area in square metres of one square foot, based on the international foot of exactly 0.3048 m. The example room is therefore about 162.75 square feet. State the result as an estimate appropriate to your measurements, rather than implying that the walls or readings were perfectly exact.
- Convert each length from millimetres to metres.
- Multiply the two lengths to get square metres.
- Divide square metres by 0.09290304 to get square feet.
Break an irregular room into simple shapes
An L-shaped room is easier to calculate as two non-overlapping rectangles. Draw a dividing line on your sketch, measure the length and width of each part, then add their areas. For example, a 4 m by 3 m rectangle joined to a 2 m by 1 m rectangle has a total area of 14 square metres. The dividing line is only a calculation aid; it is not an additional wall to measure twice.
An alcove can be added as a small rectangle if it extends beyond the main outline. A chimney breast or boxed-in section can be subtracted if your original rectangle included floor space it occupies. Check that every piece of floor appears once, with no gap or overlap between the shapes. If a wall is angled or curved, take enough measurements to sketch it accurately and treat a simple rectangular estimate as approximate.
- Number the shapes on the sketch.
- Write each shape's multiplication beside it.
- Add extensions and subtract occupied areas only once.
Keep floor area separate from fitting details
A room's area tells you how much horizontal floor lies inside the boundary you measured. It does not tell you whether a sofa can pass through a doorway or fit around a radiator. Record door openings, window positions, radiator projections and socket locations as separate dimensions when planning furniture. For a large item, compare its full dimensions with the route into the room as well as its proposed position.
Flooring introduces a different check. The calculated area is a starting measurement, but boards, tiles, carpet and sheet flooring can produce offcuts or require a particular layout. Check the chosen product's pack coverage and fitting guidance before deciding how much to buy. Keep your measured room area visible in the working, so any extra quantity is clearly an ordering allowance rather than a change to the room's size.
- Measure door clear openings for delivery plans.
- Mark fixed fittings that affect furniture placement.
- Check product coverage before converting area into packs.
Record the result so it can be reused
Keep the dated sketch, raw dimensions, calculation and final units together. Write the square-metre result as well as the square-foot result, since UK product information and quotations may use different area units. If a contractor measures the same room later, the original figures make any difference easier to investigate. A labelled plan is also more useful than a single area figure when you change the layout.
Include a short note about what was excluded, such as a built-in cupboard whose floor was not part of your measured outline. Avoid rounding each small shape before adding them; round only the final total for presentation. If two measurements of an uneven width differ, retain both and explain which one you used for the estimate. For an order or quotation, confirm the measurement basis with the supplier or fitter.
- Save the sketch and raw readings.
- Show square metres and square feet with their units.
- Record exclusions and any estimate assumptions.
Verification checklist
Walk around the room with your sketch and check that every change in the floor outline is represented. Compare the written dimensions with the marks on your tape or meter, paying particular attention to zeros in millimetre readings. Repeat the arithmetic using the original figures, and confirm that lengths were converted before areas were calculated. A square-foot result should be larger numerically than the same area expressed in square metres.
Check the purpose of the answer one last time. If it is for general planning, a sensibly rounded area may be sufficient; if it is for purchasing, verify the supplier's coverage and fitting requirements separately. Keep the calculation with the room record so you can re-check it without measuring from scratch. Do not treat an estimated area as a substitute for a site measurement when precise fitting is required.
- Does the sketch match the floor outline?
- Are all lengths labelled in millimetres or metres?
- Are added and subtracted shapes accounted for once?
- Does the final answer include the correct area unit?
Reproducible worked record
Illustrative rectangular living room
All room dimensions and results in this worked example are illustrative, synthetic figures, not measurements of a real property.
- Illustrative length
- 4,200 mm = 4.2 m
- Illustrative width
- 3,600 mm = 3.6 m
- Square-foot conversion
- 1 ft = 0.3048 m exactly; 1 sq ft = 0.09290304 sq m
4.2 m × 3.6 m = 15.12 sq m; 15.12 ÷ 0.09290304 = approximately 162.75 sq ft.The illustrative rectangular room measures 15.12 sq m, or approximately 162.75 sq ft.
Verification boundaryRe-measure both sides in millimetres, divide each by 1,000, repeat the multiplication, then multiply the square-foot answer by 0.09290304 to check that it returns approximately 15.12 sq m.
References and field record
Check the assumptions at their source.
The area conversion follows the international-foot definition documented in the NIST Guide for the Use of the International System of Units.
- NISTDocuments the international foot as exactly 0.3048 metre, from which the square-foot conversion is calculated.Guide for the Use of the International System of Units (SI), NIST Special Publication 811
References checked August 6, 2026. External specifications can change; verify the current document before relying on a product or regulated dimension.
Scope and limitations
This note helps householders organise measurements and understand the calculation. It does not replace an on-site decision by a designer, installer, contractor, or manufacturer. Fabrication, structure, electrical work, gas, waterproofing, and personal safety require suitably qualified verification.