Building measurement calculator: a practical room method
Use a building measurement calculator to estimate UK room areas and material quantities, then check the figures before ordering.
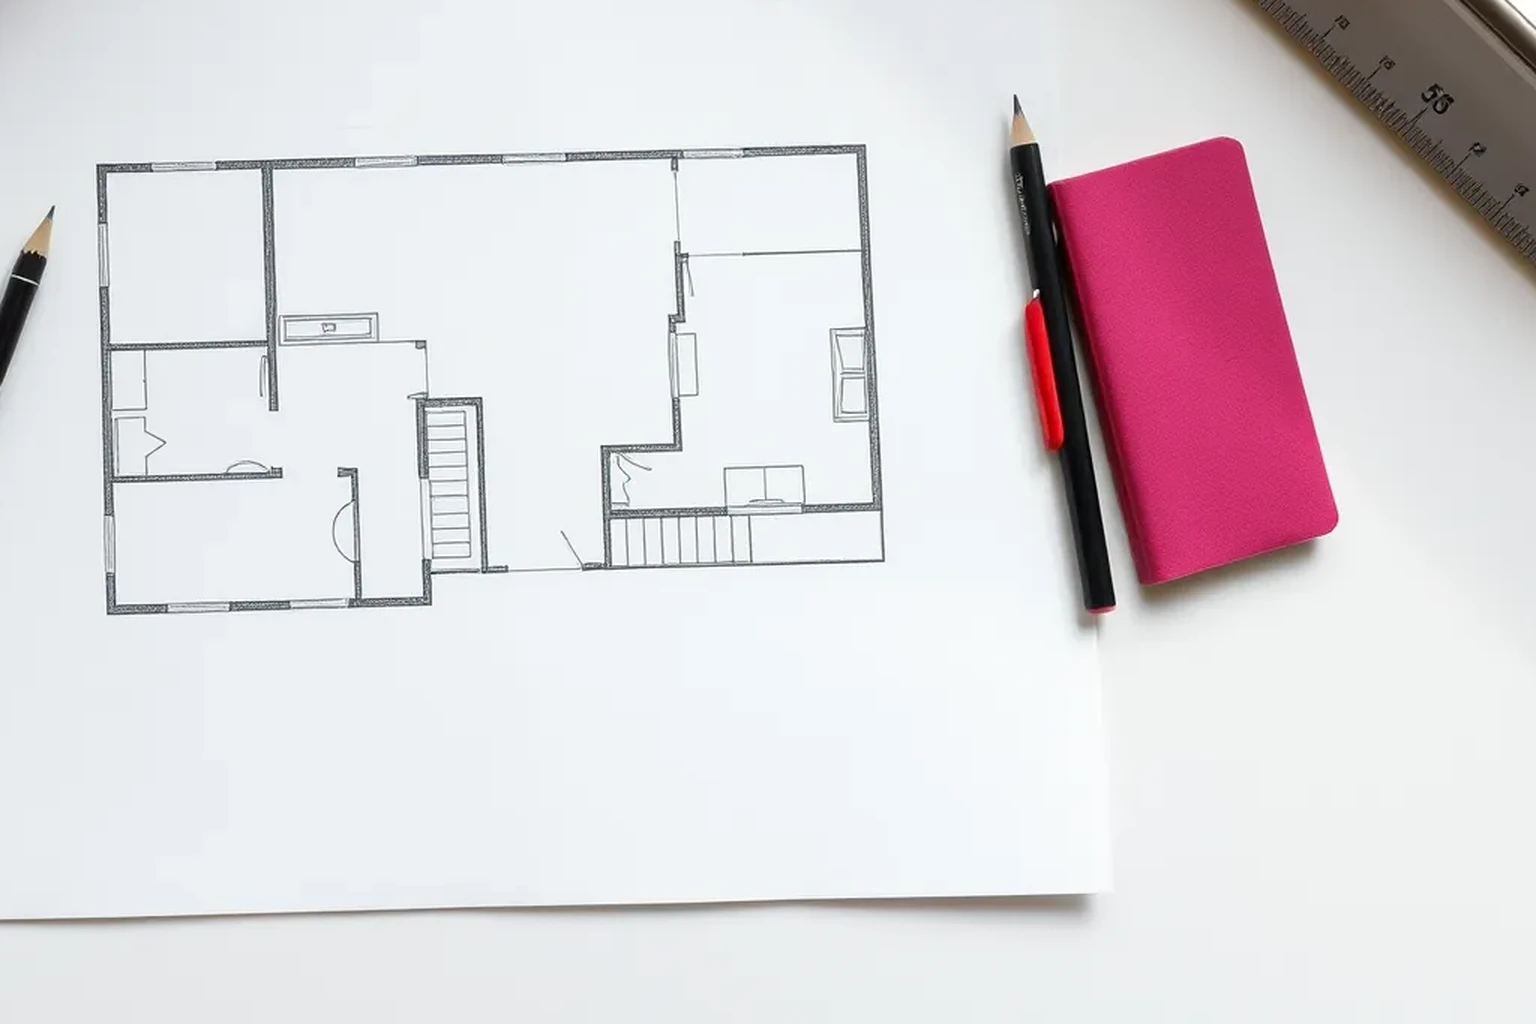
Measure each room or surface in millimetres, divide irregular shapes into simple rectangles, and convert calculated areas to square metres. Apply an allowance suited to the material, then check pack coverage, site conditions and supplier requirements before ordering.
Set up your building measurement calculator
Decide what the estimate needs to cover before taking measurements. A flooring order needs the usable floor area, while paint, plasterboard or insulation needs measurements of the relevant walls or ceiling. Keep separate calculations for each room, surface and product so that unlike quantities are not added together. Use a sketch or spreadsheet alongside your calculator to show where every number came from.
Record lengths in millimetres (mm), which makes it easier to note openings, recesses and common UK fitting dimensions without early rounding. Label each measurement clearly, such as “wall A length” or “door opening width”, and record whether it was taken at floor, worktop or ceiling height. Convert to metres only when calculating square metres: divide each mm measurement by 1,000 first. Alternatively, multiply two mm measurements and divide the result by 1,000,000.
- Choose the surface and material you are estimating.
- Draw and label a simple plan or elevation.
- Keep raw measurements separate from calculated quantities.
Measure the actual space
Measure between the boundaries that matter for the job, rather than assuming the room matches an estate-agent floor plan. For flooring, measure the area that will receive the finish and note cupboards, alcoves and spaces under fixed units separately. For wall finishes, measure each wall’s width and height, including any changes in height beneath a sloping ceiling. Take a second measurement where a wall appears out of square or uneven.
Use a tape or laser measure carefully and write each reading down immediately. Check long dimensions against shorter segments where access permits; the segment totals should agree with the overall reading within the accuracy needed for the work. Note skirting, pipe boxing, radiator positions and door frames on the sketch, because they can affect fitting even when they barely change the area. A quantity estimate cannot establish whether an appliance, furniture item or delivery will fit through an opening.
- Measure and label each straight run.
- Repeat any reading that appears inconsistent.
- Record obstructions and changes in height.
Break irregular shapes into simple areas
For a rectangular surface, multiply length by width after converting both figures to metres. An L-shaped room can usually be split into two non-overlapping rectangles; calculate each area and add them. Mark the dividing line on the sketch so the same strip is not counted twice. Where a shape has a small irregular edge, record how you estimated it and check whether that approximation could change the number of packs required.
Use the same approach for walls, but calculate each elevation separately before adding the results. If a wall has two heights, split it into sections rather than using a single height without checking the effect. Keep linear measurements, such as skirting length, separate from square-metre measurements. A skirting order needs the lengths of the runs plus an appropriate cutting allowance, not the floor area.
Treat openings and fitted areas consistently
Decide which openings to deduct according to the material and the way it will be fitted. A wall area for paint may exclude a large door or window opening, but its reveals might still need painting. Flooring beneath a fitted kitchen may or may not be installed, depending on the floor type and the fitter’s instructions. Write down each inclusion or exclusion so that a later change to the plan can be recalculated.
Measure an opening’s width and height, convert both to metres, and subtract their product from the relevant wall area only when a deduction is appropriate. Do not deduct an opening from an unrelated wall or from the room’s floor area. Some suppliers recommend measuring gross wall area for a particular product, so check the product guidance before removing every small opening. Keep the original gross figure as well as the adjusted figure for a clear audit trail.
- List each opening beside its wall or surface.
- Record gross and deducted areas separately.
- Check product guidance before finalising deductions.
Add an allowance and check pack coverage
The calculated area is not necessarily the amount to buy. Cuts, breakages, pattern matching and the shape of the room can increase material use, and the appropriate allowance varies by product and installation method. Ask the supplier or fitter what allowance applies to the chosen material rather than treating one percentage as a universal rule. Apply that allowance to the measured area and retain the unrounded result until the pack calculation.
Check the coverage stated for the exact pack, board, roll or tile being ordered. Divide the allowed quantity by the stated coverage and round up to a whole pack when packs cannot be split. For paint, follow the manufacturer’s stated coverage and number of coats; surface condition can affect the amount used. Check whether products are sold by usable coverage, nominal dimensions, linear metres or individual pieces before comparing prices.
Keep a measurement record for ordering
Save the dated sketch, raw measurements, calculations and product details together. Record the room name, surface, measurement unit, deductions, allowance and final ordering unit, such as packs or boards. Include the product name and stated pack coverage, since another version of a similar product may cover a different area. This record makes it easier to revise an order without measuring everything again.
Before paying, compare the calculation with the proposed layout and the current site. Check that planned cupboards, partitions or door changes have not altered the measured surface. Confirm stock availability and whether matching batches matter for the finish you have chosen. For work requiring planning permission or building regulations approval, use the relevant official guidance and a qualified professional’s advice; a material calculator cannot determine those obligations.
Verification checklist
Read each labelled dimension back against the room and sketch, including alcoves, openings and changes in height. Recalculate one area independently, checking that the units are metres before multiplying. Make sure the sum of the smaller shapes matches the area shown on the plan and that none overlap. Review every deduction against the surface that will actually be finished.
Finally, compare the allowed quantity with the coverage printed for the exact product and check the whole-pack rounding. Ask the supplier or installer to confirm any cutting allowance or coverage assumption that could change the order. Re-measure after building work if the boundaries have moved. Keep the verified figures and the product information with your household records.
- Dimensions and units match the labelled sketch.
- Areas, deductions and additions have been recalculated.
- Allowance and pack coverage match the chosen product.
- Final quantities reflect the current room layout.
Reproducible worked record
Illustrative rectangular-room flooring check
All dimensions, coverage figures and the allowance in this example are illustrative, synthetic values, not measurements or product recommendations.
- Illustrative room length
- 4,200 mm
- Illustrative room width
- 3,600 mm
- Illustrative ordering allowance
- 10%
- Illustrative pack coverage
- 2.0 m² per pack
(4,200 ÷ 1,000) × (3,600 ÷ 1,000) = 15.12 m²; 15.12 × 1.10 = 16.632 m²; 16.632 ÷ 2.0 = 8.316 packs, rounded up to 9 whole packs.On these illustrative assumptions, nine packs provide 18.0 m² of stated coverage, more than the calculated 16.632 m² ordering quantity.
Verification boundaryRe-measure both sides, repeat the area calculation, and replace the illustrative allowance and pack coverage with the chosen product’s instructions before ordering.
References and field record
Check the assumptions at their source.
NIST’s SI units guidance supports the metre-based unit conversion used in the arithmetic; it does not prescribe a flooring allowance.
- NISTExplains the metre as the SI unit of length used when converting millimetres to metres.SI Units – Length
- UK govProvides official building regulations guidance to consult separately where proposed work may require it; an area calculation does not establish compliance.Approved documents
References checked August 6, 2026. External specifications can change; verify the current document before relying on a product or regulated dimension.
Scope and limitations
This note helps householders organise measurements and understand the calculation. It does not replace an on-site decision by a designer, installer, contractor, or manufacturer. Fabrication, structure, electrical work, gas, waterproofing, and personal safety require suitably qualified verification.